Streamz
Thank You for Choosing Streamz!
We’re thrilled to welcome you to the Streamz community.
A music streaming website with an admin panel.
Created by: RaoaTech
Hello! We’re excited that you chose to purchase Streamz. You’ve made a great decision! Our detailed documentation will guide you through every step, so be sure to review it before getting started. We’ve included all the essential information in an easy-to-read and follow format.
If you have any questions or encounter any issues, our dedicated support team is always ready to help. You can reach out anytime via our support portal:
RaoaTech Support Team.
1 - Introduction
Streamz is built with PHP. It’s a music streaming website with an admin panel where users can listen to music. The backend allows the admin to configure settings and manage tracks. Admins can create, edit, update, and delete tracks.
Features
- Admin panel built with Laravel
- More than 20 pages
- Material Design UI
- Easy to install
- Easy to customize
- Super-friendly code
- Well-commented code
- Basic knowledge required for setup
- Equipped with all modern features
2 - Folder Structure
2.1 Unzip the downloaded file.
streamz-api-admin → Main Laravel Project
streamz_laravel.sql → Database File
2.2 You will see the following folders and files:
- app
- config
- database
- public
- resources
- routes
- storage
- .env
3 - Requirements
Important steps have been highlighted in yellow to help you get the project up and running smoothly.
4 - Local Installation
PHP version 8.2+ is required (update your XAMPP control panel or install a new version if needed).
Database Setup
First, create a database named streamz_laravel.
Then import the streamz_laravel.sql file into your server.
Link the database to the admin panel
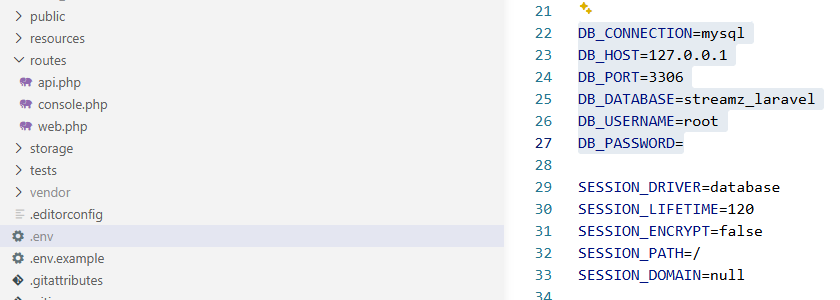
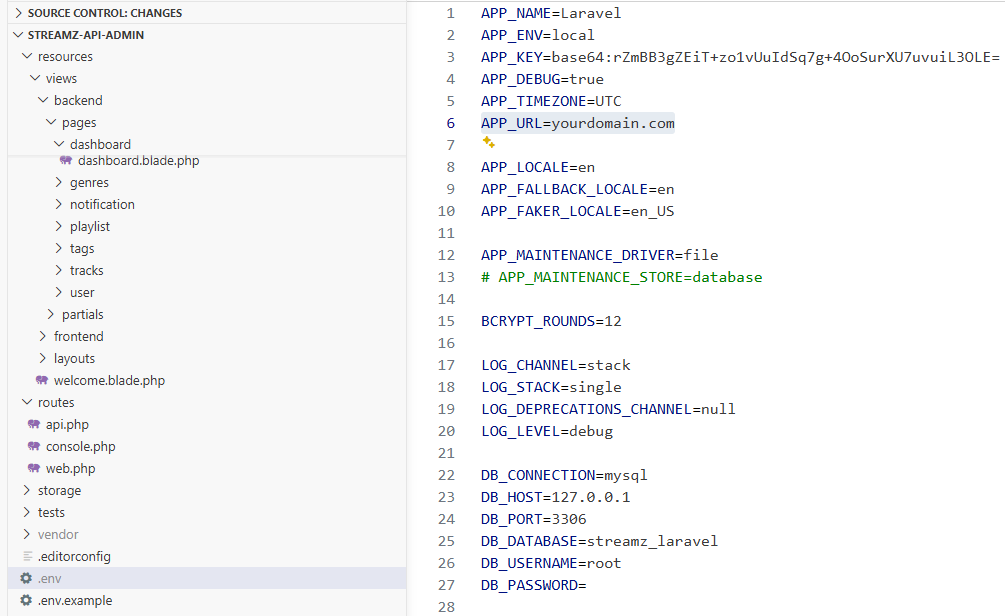
To link the database, open the following file:
Insert your dbname (if empty), username, and password.
Add your server link to DOMAIN_NAME without "http".
If running locally, use your IP address followed by the project folder. Example: 192.168.2.71/streamz-api-admin/
Local Installation
Ensure XAMPP, Composer, and Node.js are installed on your system.
Copy the streamz-api-admin folder to your XAMPP htdocs directory.
Start the Apache and MySQL services from the XAMPP Control Panel.
Create a database (e.g., streamz_laravel) using phpMyAdmin.
Import the streamz_laravel.sql file (located in the Main_files folder) into your database.
Open terminal/command prompt inside the project folder and run the following commands:
Install PHP dependencies:
composer install
Install Node modules:
npm install
Generate application key:
php artisan key:generate
Start Laravel local server:
php artisan serve
(Example: http://127.0.0.1:8000)
Start Vite development server:
npm run dev
Open your browser and visit:
http://your_ip_address/streamz-api-admin/admin/login
Example: http://127.0.0.1:8000/streamz-api-admin/admin/login
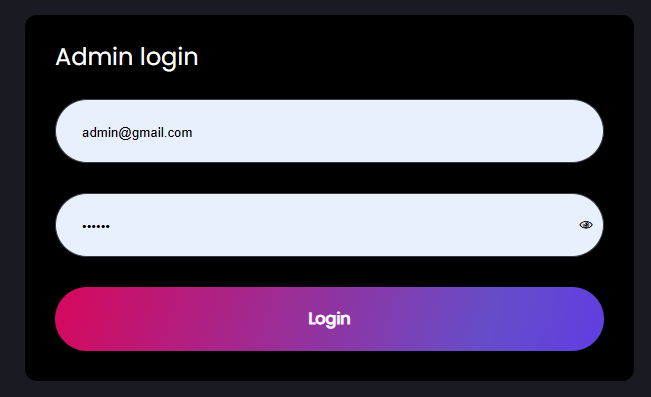
If the admin login page appears, the admin panel is working correctly.
Email: admin@gmail.com
Password: 123456
5 - Server Installation
This guide explains how to deploy and configure the Laravel project under a subdirectory using Apache.
Project Path: /var/www/demo.raoatech.ca/streamz-api-admin/
Public URL: https://demo.raoatech.ca/streamz-api-admin/
Laravel Public Directory: /var/www/demo.raoatech.ca/streamz-api-admin/public/
1. Create Project Directory
cd /var/www/demo.raoatech.ca
git clone <repo-url> streamz-api-admin
2. Set Permissions
sudo chown -R www-data:www-data /var/www/demo.raoatech.ca/streamz-api-admin
sudo chmod -R 755 /var/www/demo.raoatech.ca/streamz-api-admin

sudo chmod -R 775 storage
sudo chmod -R 775 bootstrap/cache
3. Install Dependencies
cd /var/www/demo.raoatech.ca/streamz-api-admin
composer install --no-dev --optimize-autoloader
4. Configure Environment
cp .env.example .env
php artisan key:generate
Update .env values:
APP_NAME=Streamz
APP_ENV=production
APP_DEBUG=false
APP_URL=https://demo.raoatech.ca/streamz-api-admin
5. Run Database Migration
php artisan migrate --force
php artisan db:seed --force
6. Laravel .htaccess Configuration
File: public/.htaccess
<IfModule mod_rewrite.c>
    <IfModule mod_negotiation.c>
        Options -MultiViews -Indexes
    </IfModule>

    RewriteEngine On
    RewriteBase /streamz-api-admin/

    RewriteCond %{HTTP:Authorization} .
    RewriteRule .* - [E=HTTP_AUTHORIZATION:%{HTTP_AUTHORIZATION}]

    RewriteCond %{REQUEST_FILENAME} !-d
    RewriteCond %{REQUEST_URI} (.+)/$
    RewriteRule ^ %1 [L,R=301]

    RewriteCond %{REQUEST_FILENAME} !-d
    RewriteCond %{REQUEST_FILENAME} !-f
    RewriteRule ^ index.php [L]
</IfModule>
7. Apache Requirements
sudo a2enmod rewrite
sudo a2enmod headers
sudo systemctl restart apache2
8. Apache Configuration Idea
Main Document Root:
/var/www/demo.raoatech.ca
Alias Setup:
Alias /streamz-api-admin/ /var/www/demo.raoatech.ca/streamz-api-admin/public/
Directory Permissions:
<Directory /var/www/demo.raoatech.ca/streamz-api-admin/public>
    AllowOverride All
    Require all granted
</Directory>
Basic Auth (Optional):
<Location /streamz-api-admin/>
    AuthType Basic
    AuthName "Restricted Content"
    AuthUserFile /etc/apache2/.htpasswd
    Require valid-user
</Location>
9. Create Basic Authentication
sudo htpasswd -c /etc/apache2/.htpasswd username
sudo htpasswd /etc/apache2/.htpasswd anotheruser
10. Optimize Laravel
php artisan config:cache
php artisan route:cache
php artisan view:cache
php artisan optimize
11. Restart Apache
sudo systemctl restart apache2
12. Test Application
https://demo.raoatech.ca/streamz-api-admin/
13. Common Issues
404 Not Found
Check mod_rewrite, Alias, .htaccess, AllowOverride.
Permission Errors
sudo chown -R www-data:www-data storage bootstrap/cache
sudo chmod -R 775 storage bootstrap/cache
Routes Not Working
sudo a2enmod rewrite
sudo systemctl restart apache2
14. Useful Commands
Clear Cache
php artisan optimize:clear
View Logs
tail -f storage/logs/laravel.log
Apache Logs
tail -f /var/log/apache2/error.log
Deployment Checklist
Project uploaded
Composer installed
.env configured
App key generated
Permissions fixed
Apache rewrite enabled
Alias configured
.htaccess added
Apache restarted
Site tested
6 - SMTP Server Configuration
SMTP Configuration from Server
To enable confirmation emails and the forgot password functionality,
you need to configure your SMTP server.
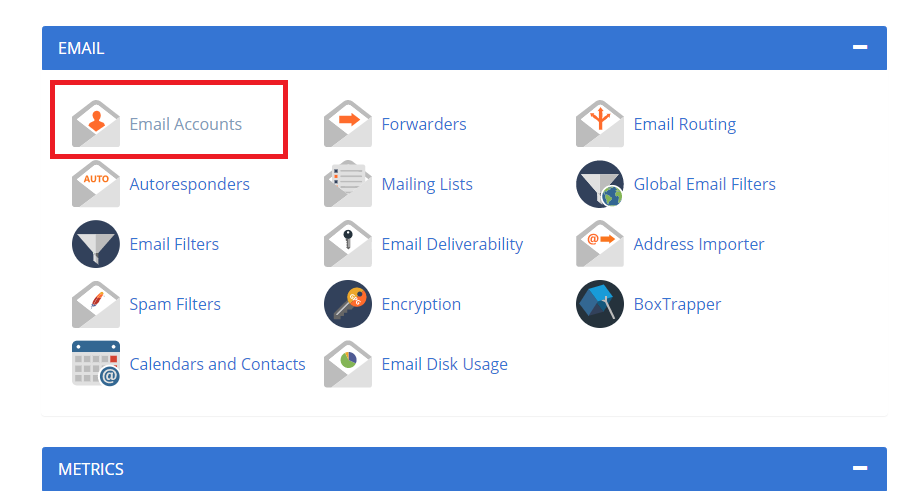
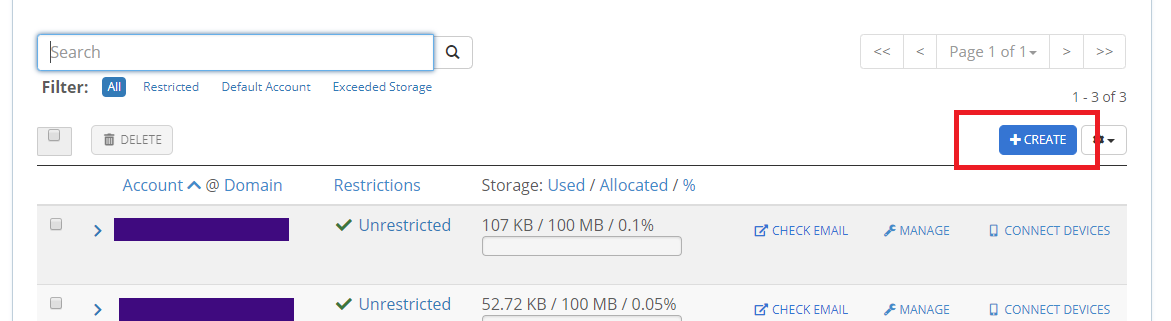
Login to your cPanel, go to Email Accounts, and click to continue.
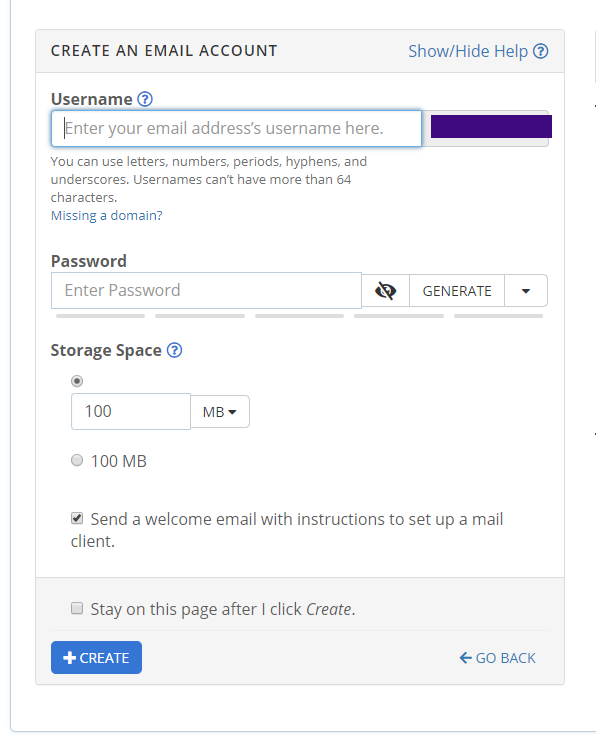
Click Create.
Fill out the form to create an email account and copy the password.
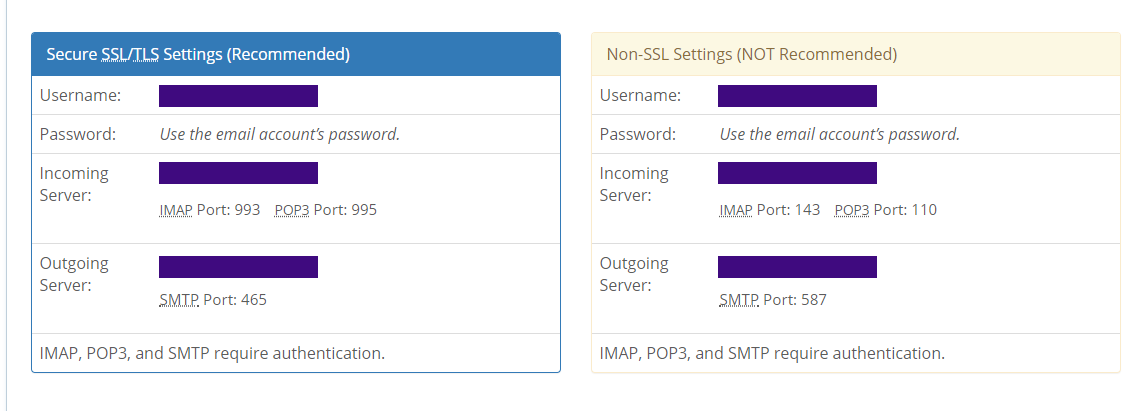
Click Connected Devices.
You will see two sections for settings. Use SSL if your server supports it; otherwise, use non-SSL. Enter all credentials in the admin panel.
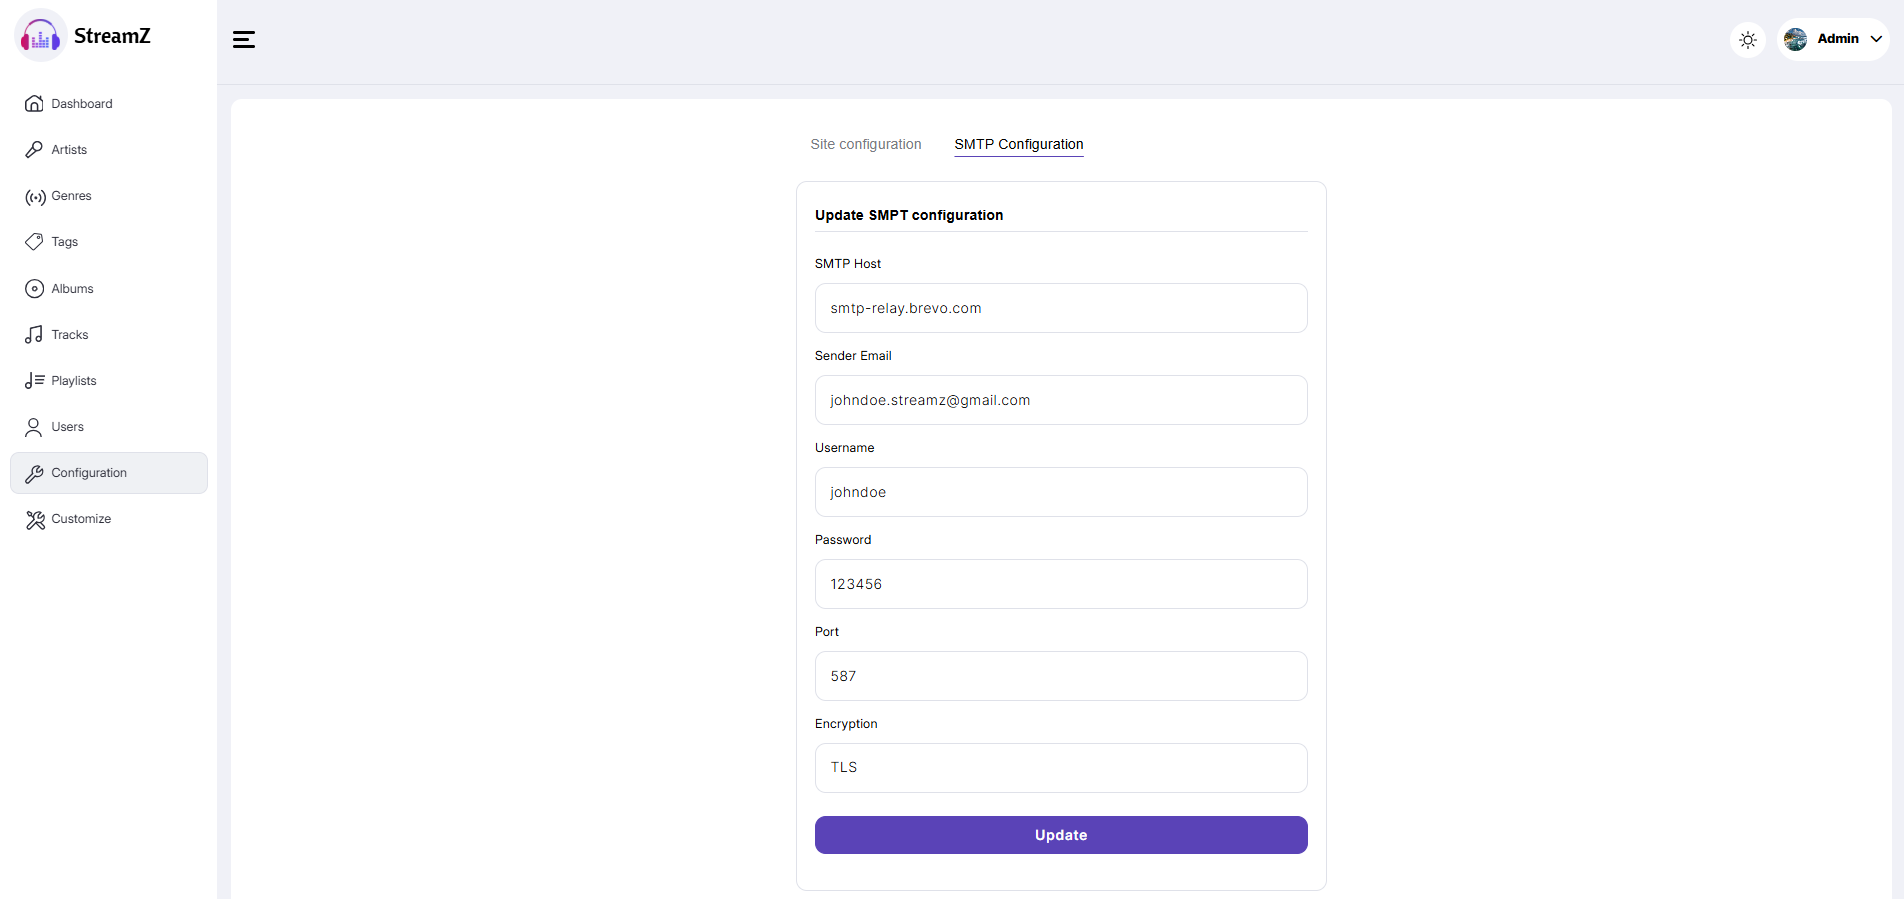
To configure the SMTP server, go to Configuration >> SMTP Configuration from the sidebar and update the server credentials:
Host
Sender Email
Username
Password
Port
Encryption
Google SMTP Server Configuration
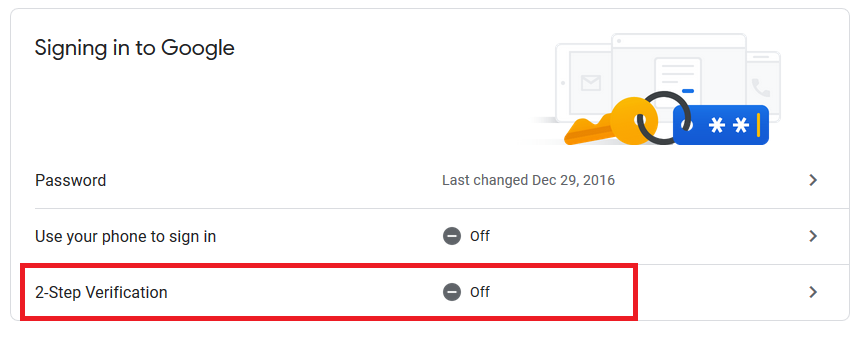
Login to your Gmail account.
Then visit:
https://myaccount.google.com/security
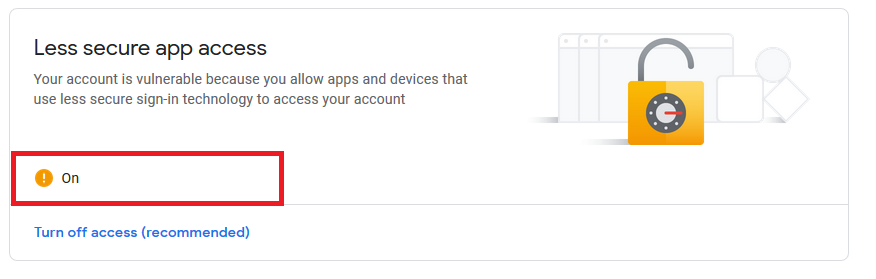
On the security page, turn off 2-step verification.
Enable Less secure app access.
Also visit:
https://accounts.google.com/b/0/DisplayUnlockCaptcha
and enable it.
8 - Functionality of Admin Panel
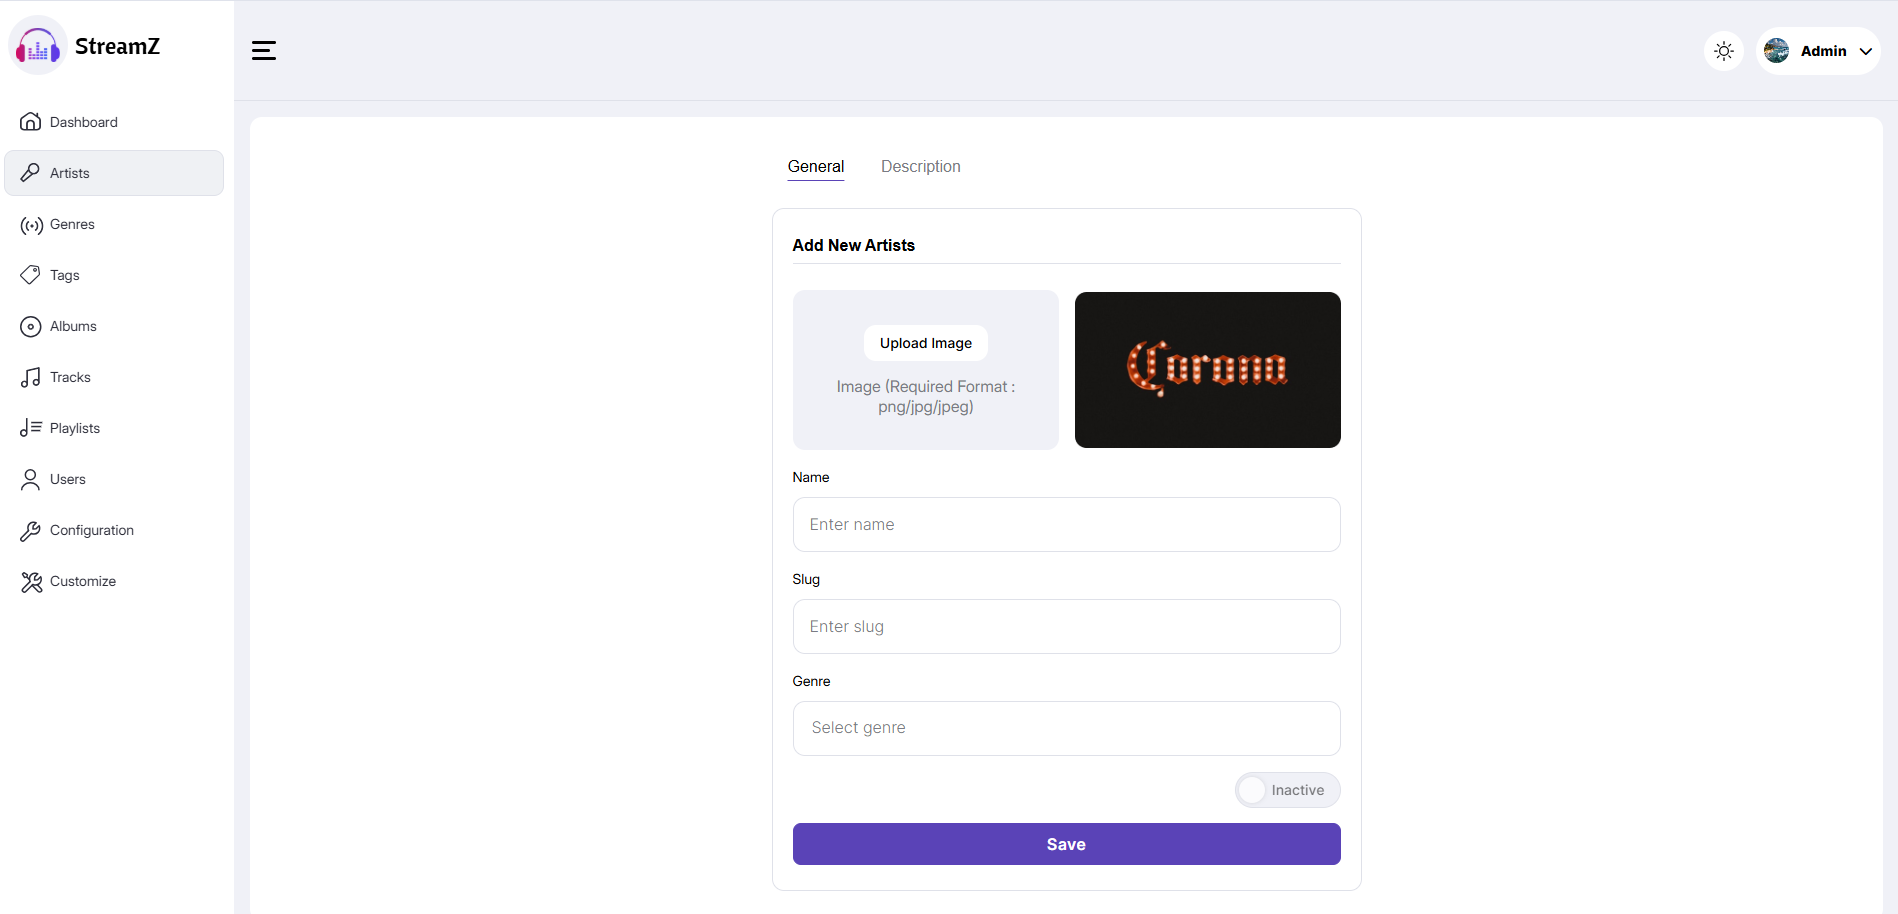
Artist
Admin must create an artist before adding tracks. Provide the image, artist name, genre (if no genre exists, create one), description, and activate the artist by clicking the switch button before adding.
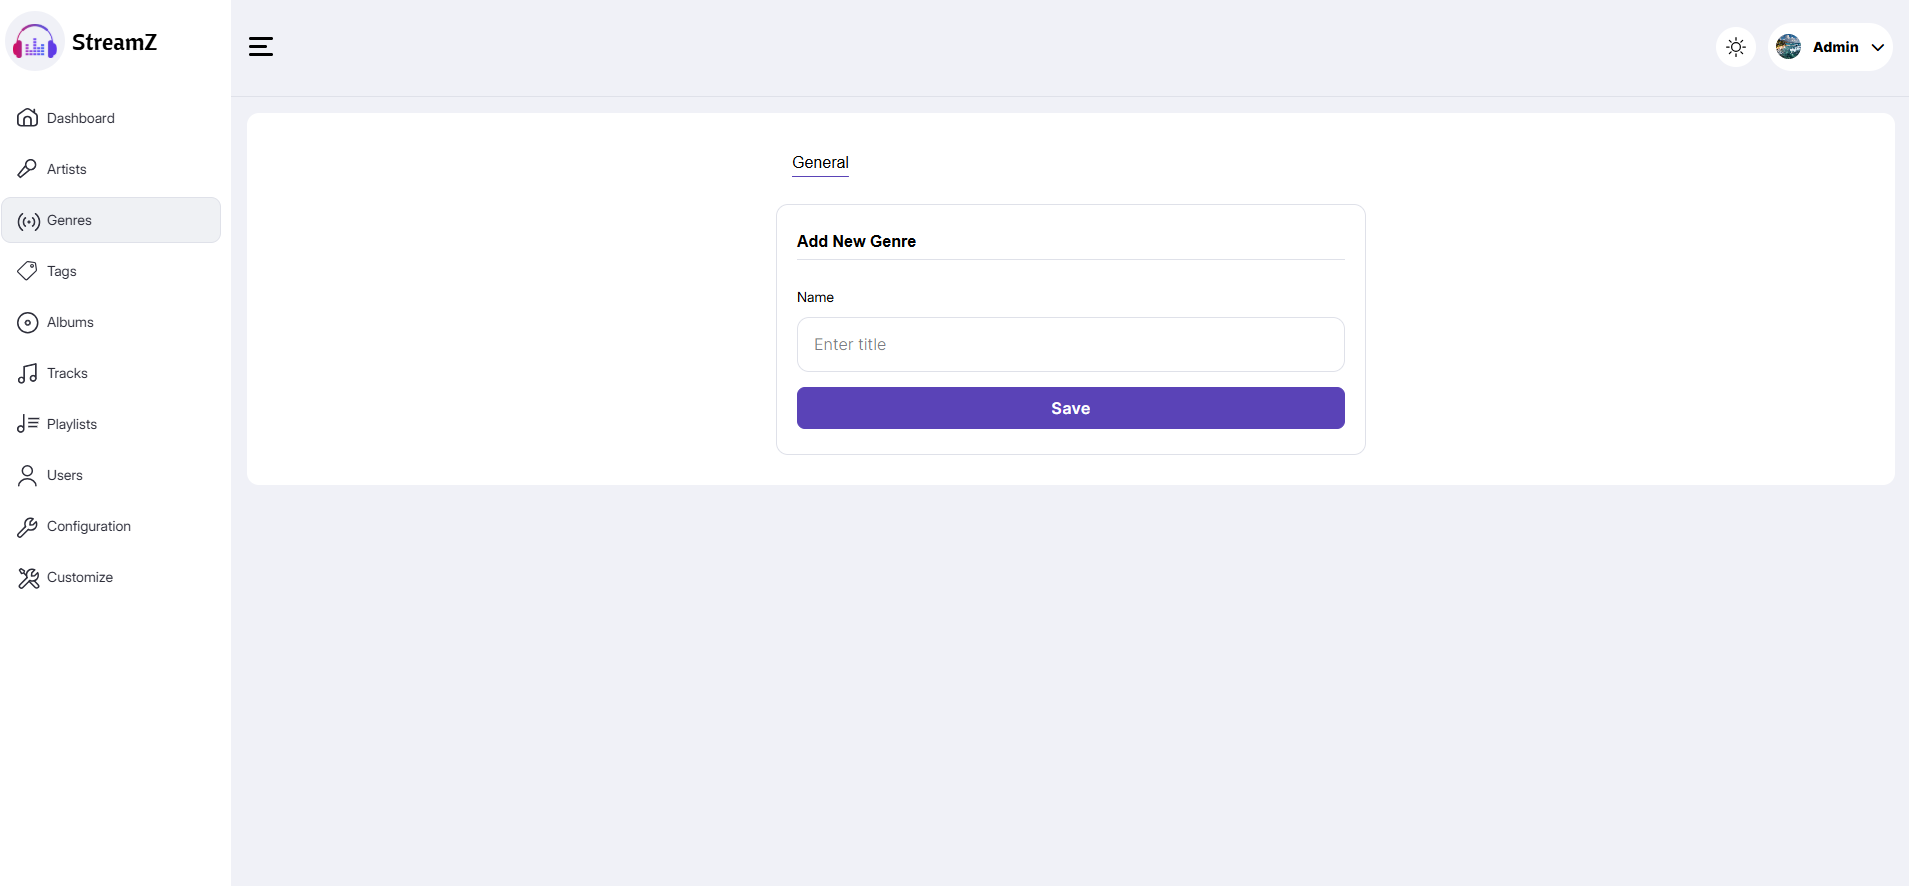
Genres
Admin can view, create, update, or delete genres from the Genre sidebar.
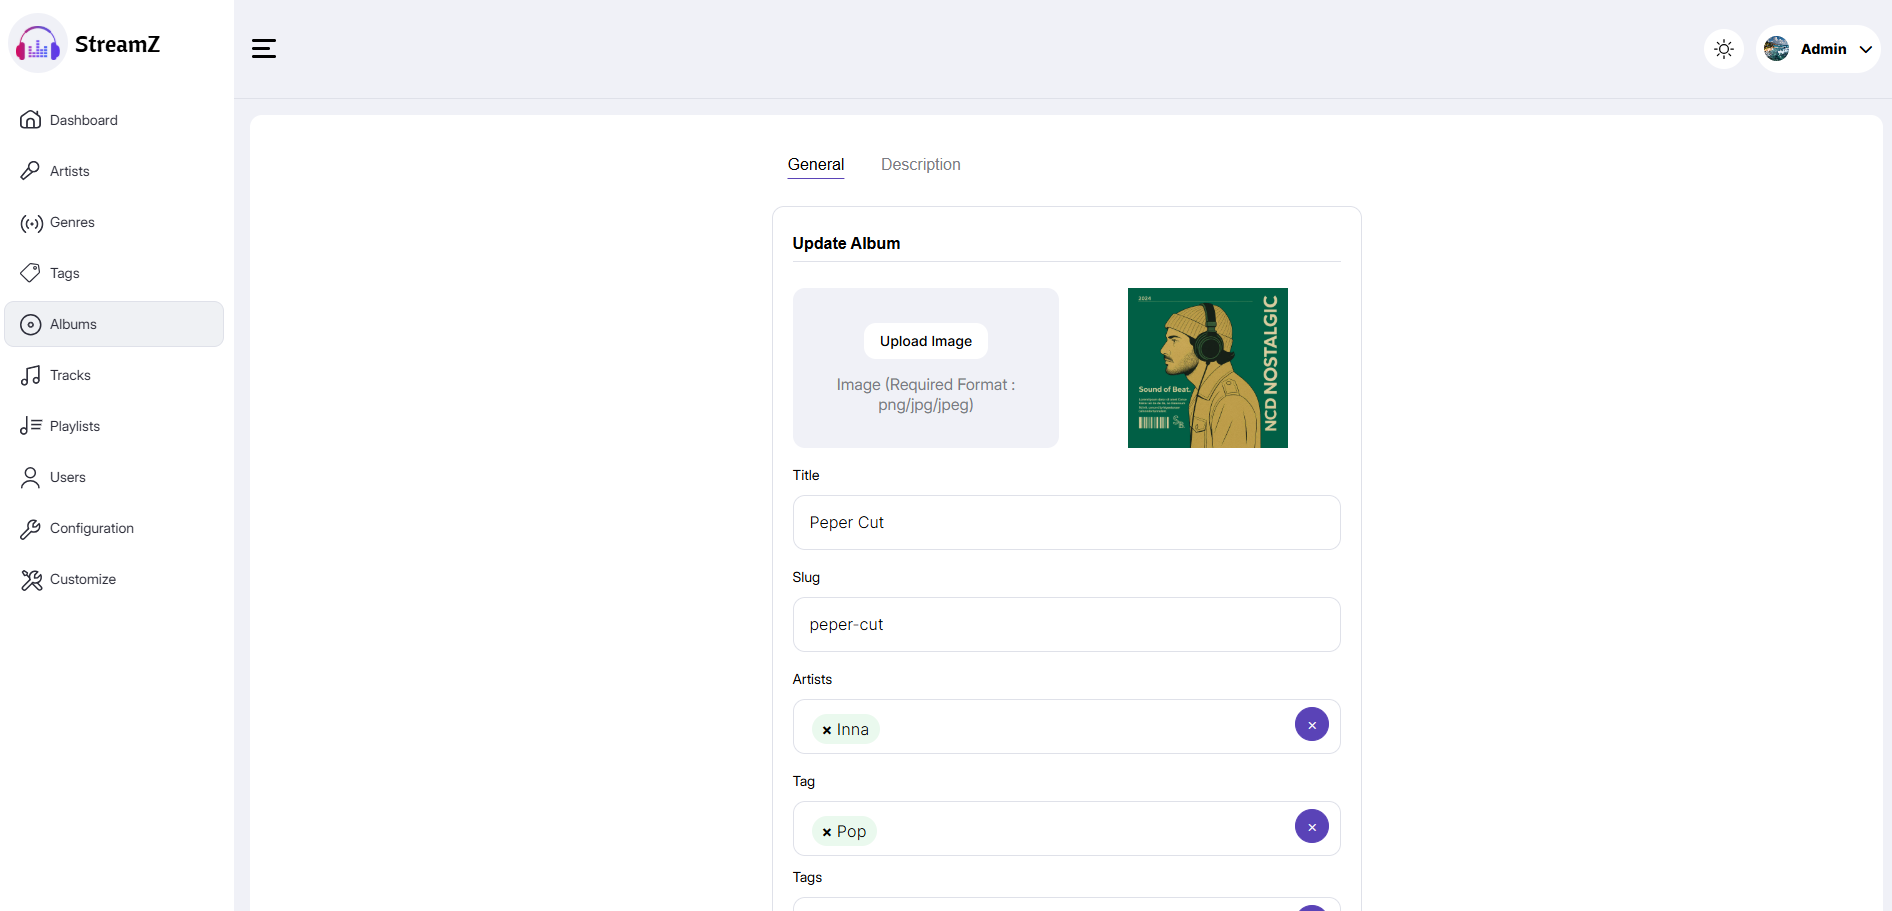
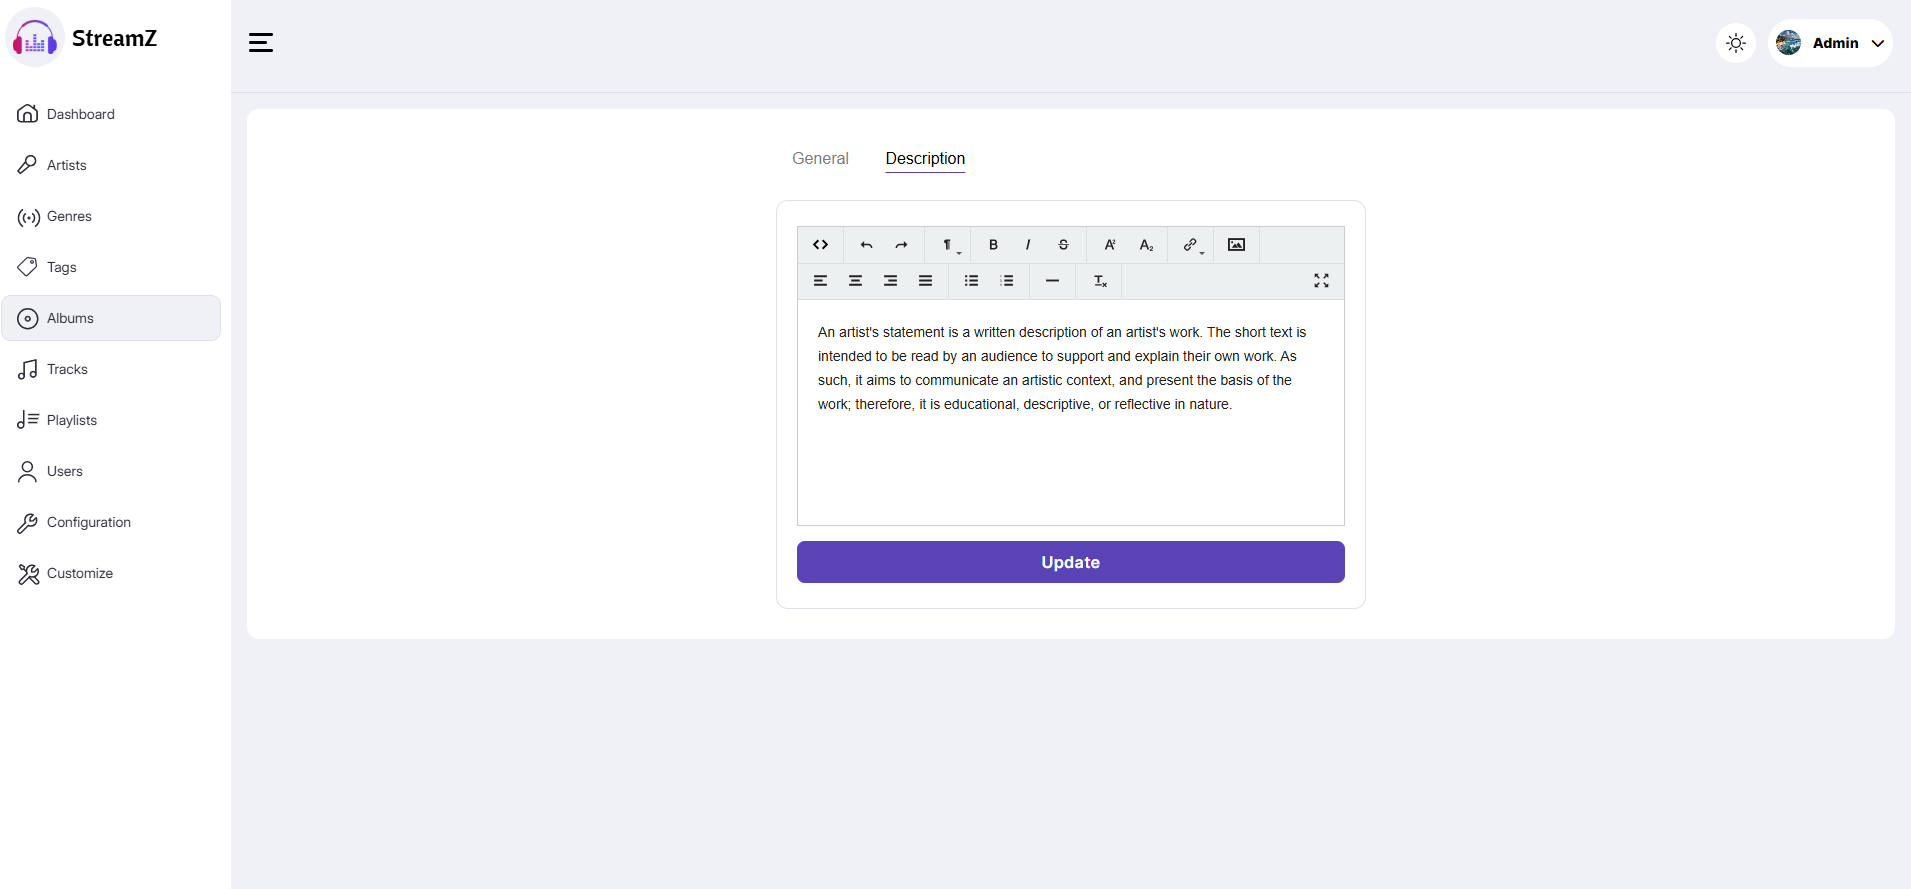
Albums
Admin can view, create, update, or delete albums from the Albums sidebar. Upload the album image, make it featured (featured albums appear in the app slider), provide the title, artist, genres, and optional tags, then activate the album.
Admin can add a description for the album via Album > Description.
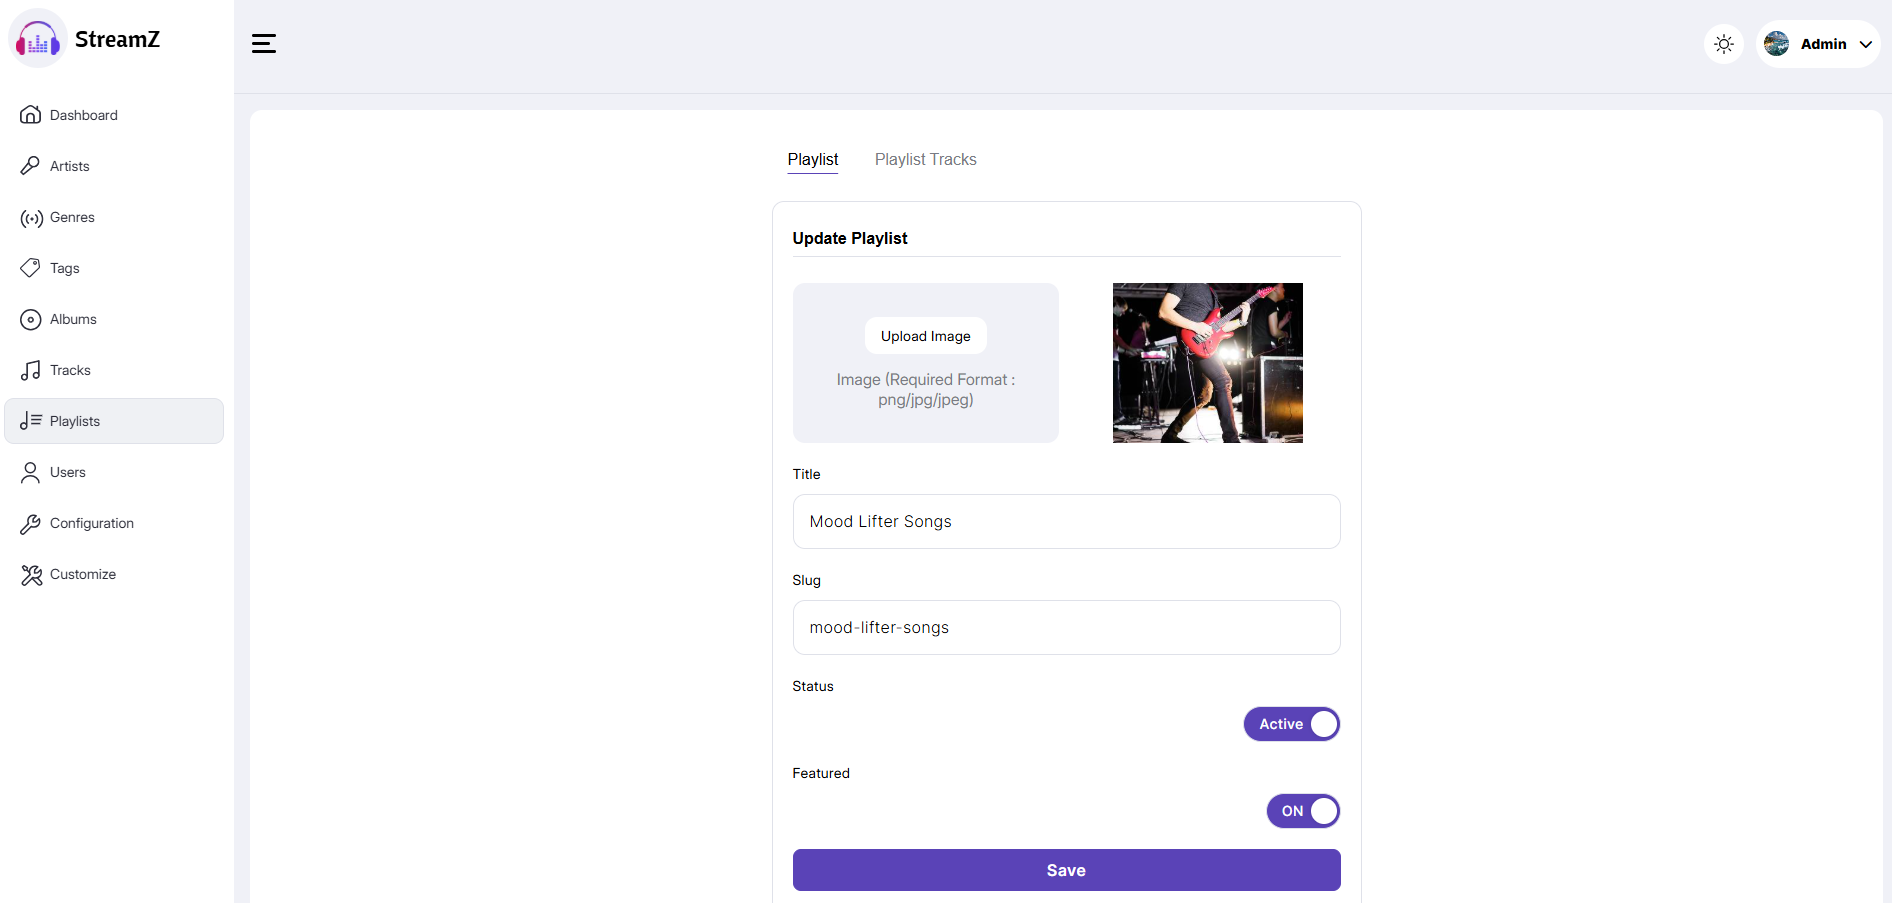
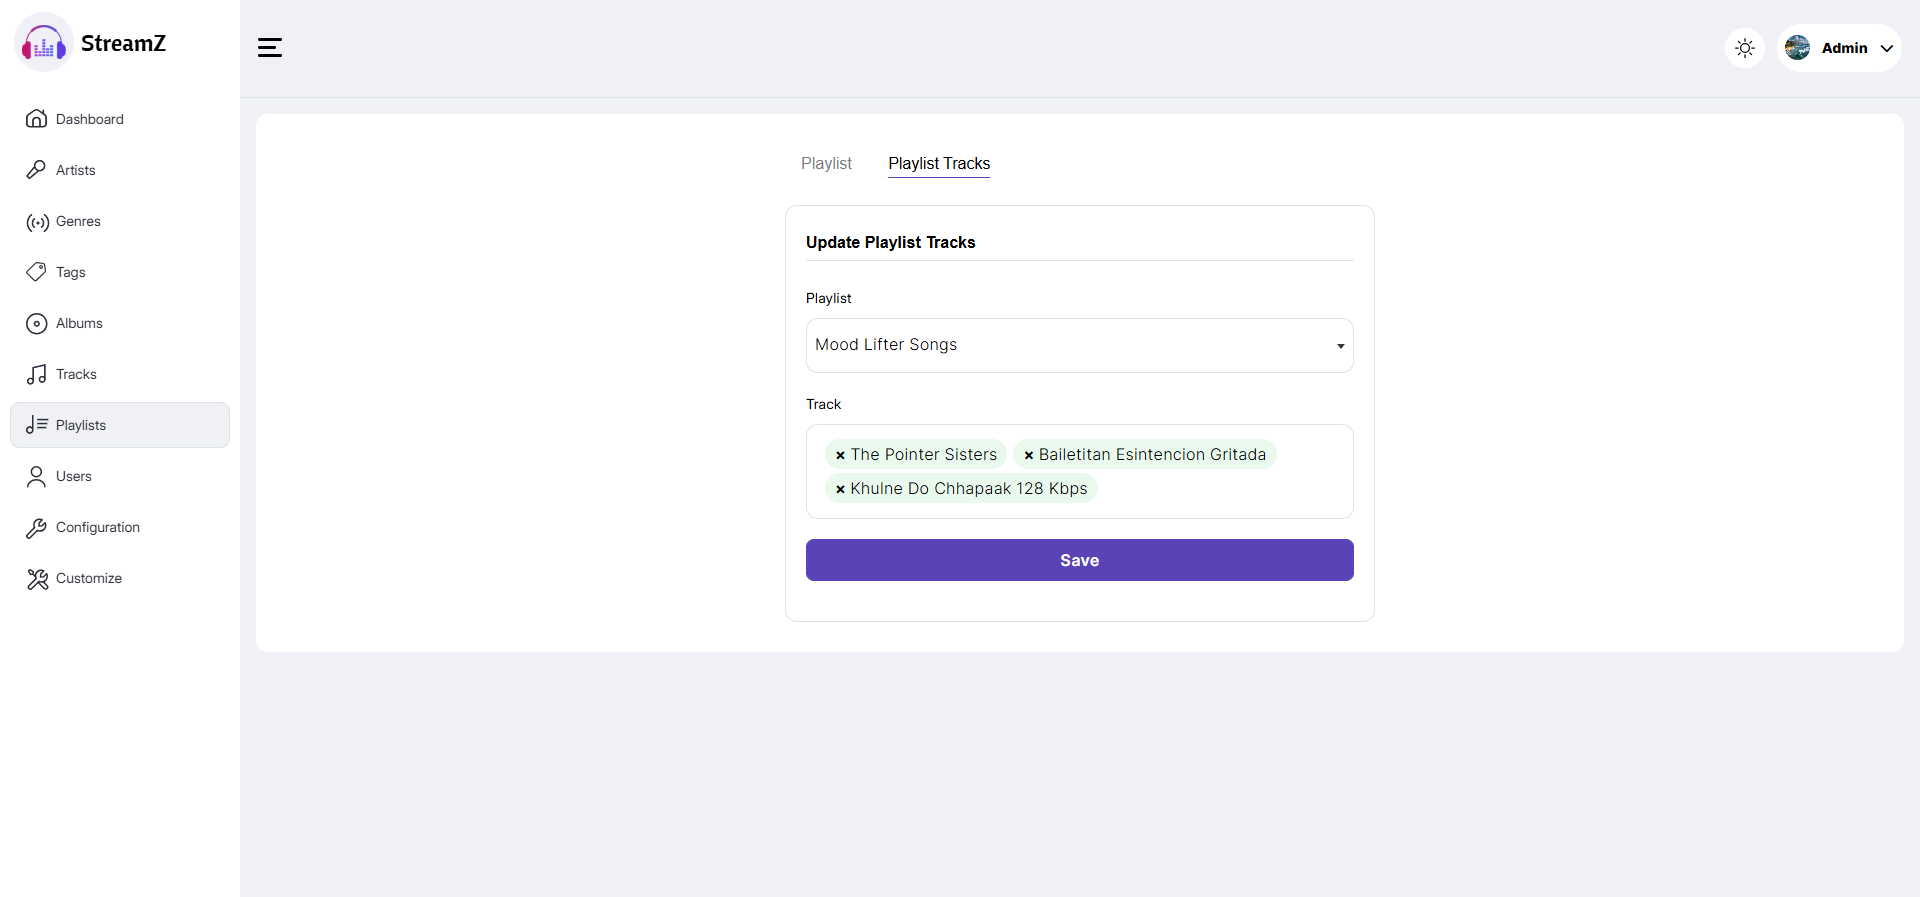
Playlist
All playlists are shown on this page. Admin can view or delete playlists from here.
Admin can add multiple tracks via Playlist > Playlist Tracks.
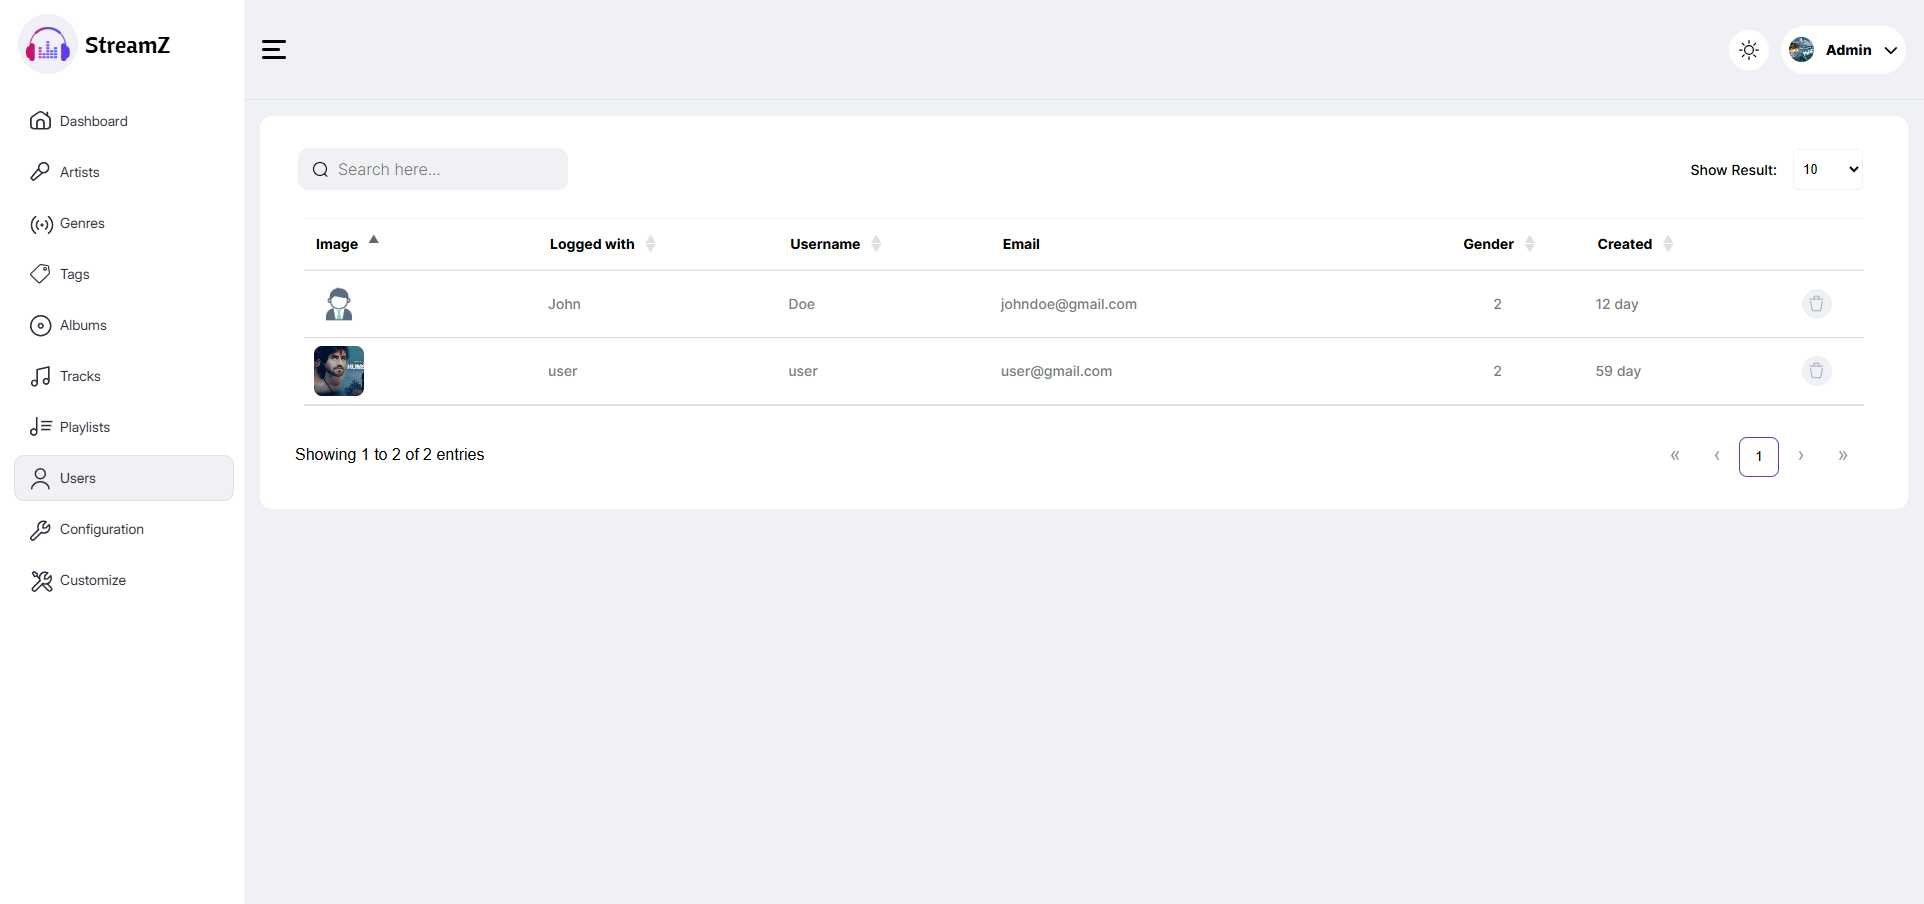
Users
On the Users page, admin can view all registered users and delete users if necessary.
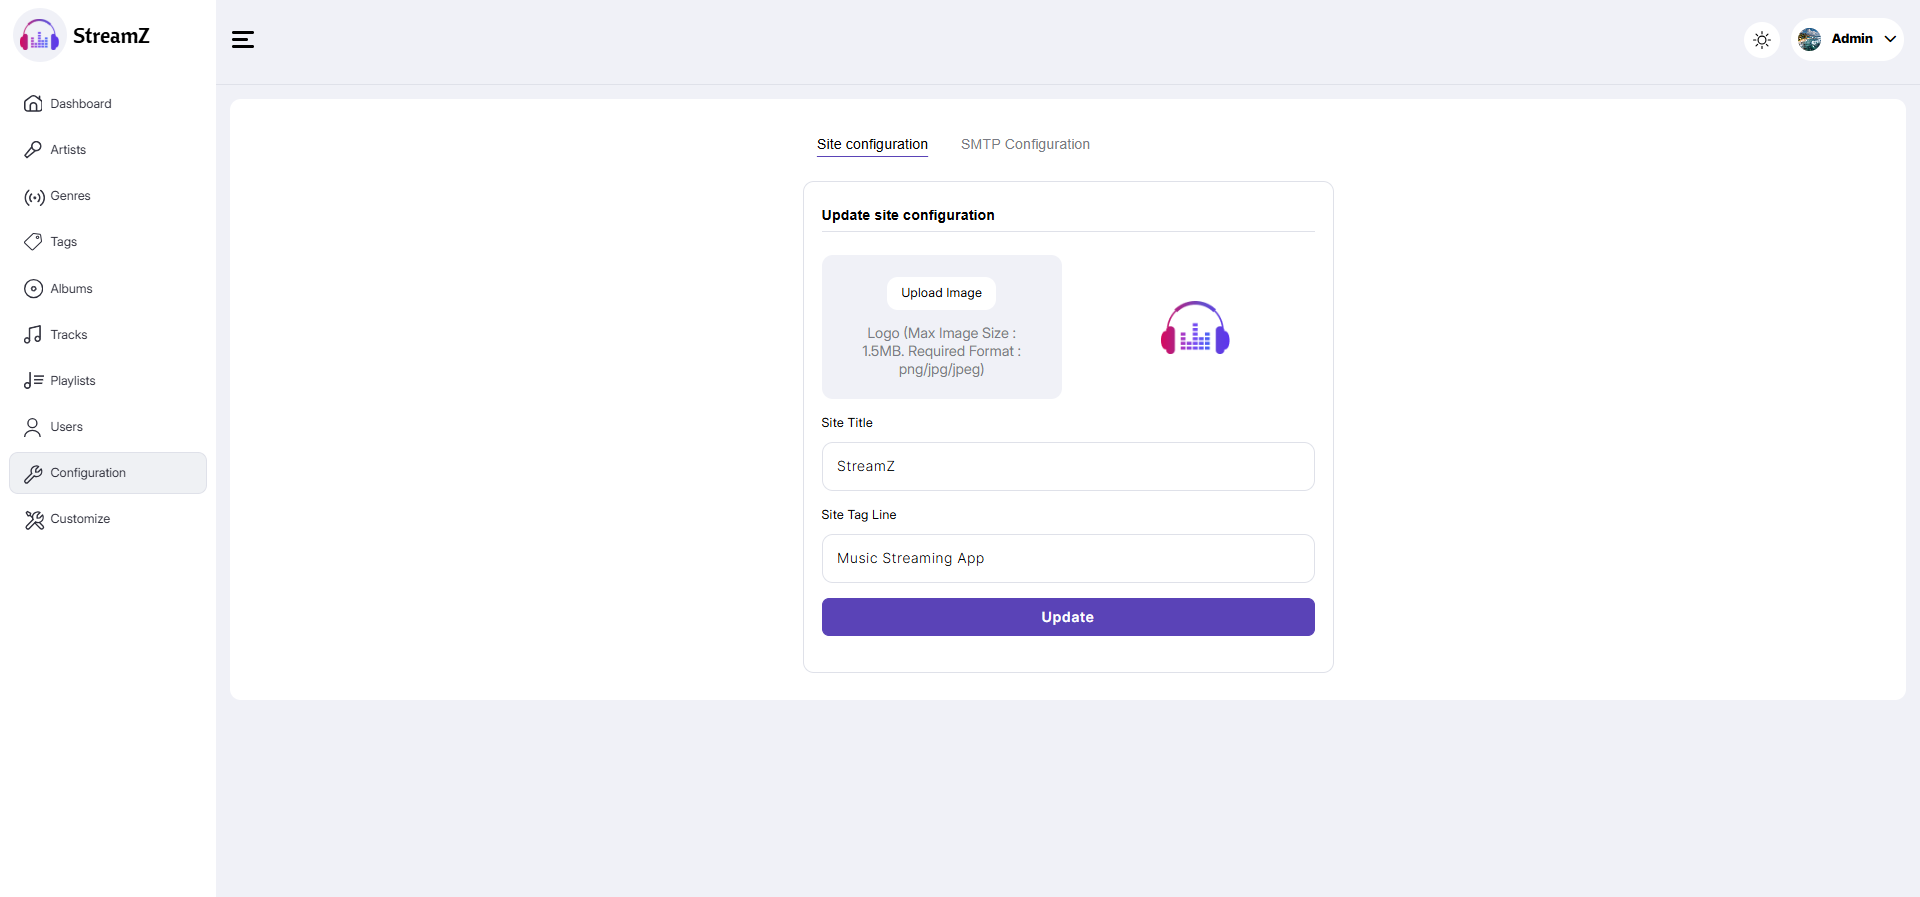
Configuration
In the configuration page, admin can change the site icon, title, and tagline via Configuration > Site Configuration.
Admin can also update SMTP configuration via Configuration > Site Configuration.