Streamz
Thank You for Choosing Streamz!
We’re thrilled to welcome you to the Streamz community.
A music streaming website with an admin panel.
Created by: RaoaTech
Hello! We’re excited that you chose to purchase Streamz. You’ve made a great decision! Our detailed documentation will guide you through every step, so be sure to review it before getting started. We’ve included all the essential information in an easy-to-read and follow format.
If you have any questions or encounter any issues, our dedicated support team is always ready to help. You can reach out anytime via our support portal:
RaoaTech Support Team.
1 - Introduction
Streamz is built with PHP. It’s a music streaming website with an admin panel where users can listen to music. The backend allows the admin to configure settings and manage tracks. Admins can create, edit, update, and delete tracks.
Features
- Admin panel built with PHP
- More than 20 pages
- Material Design UI
- Easy to install
- Easy to customize
- Super-friendly code
- Well-commented code
- Basic knowledge required for setup
- Equipped with all modern features
2 - Folder Structure
2.1 Unzip the downloaded file.
2.2 You will see the following folders and files:
Streamz (contains all necessary project files)
db.sql (database SQL file)
3 - Requirements
Important steps have been highlighted in yellow to help you get the project up and running smoothly.
4 - Installation
PHP version 8+ is required (update your XAMPP control panel or install a new version if needed).
Database Setup
First, create a database named streamz_db.
Then import the db.sql file into your server.
Link the database to the admin panel
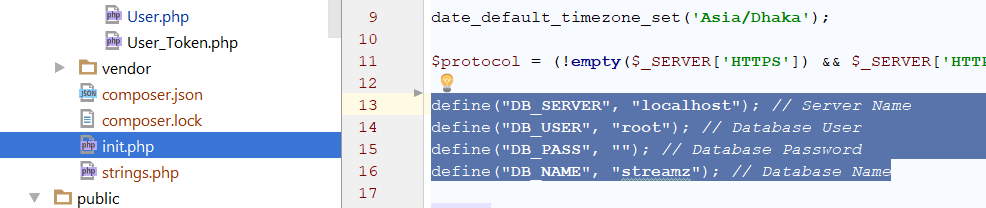
To link the database, open the following file:
Insert your dbname (if empty), username, and password.
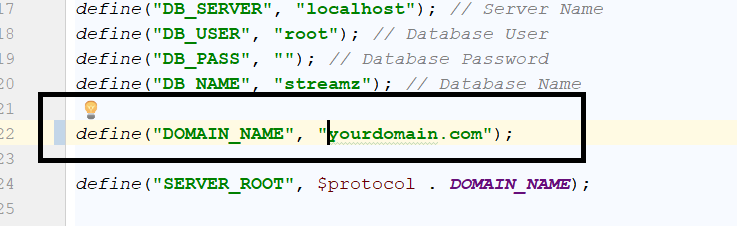
Add your server link to DOMAIN_NAME without "http".
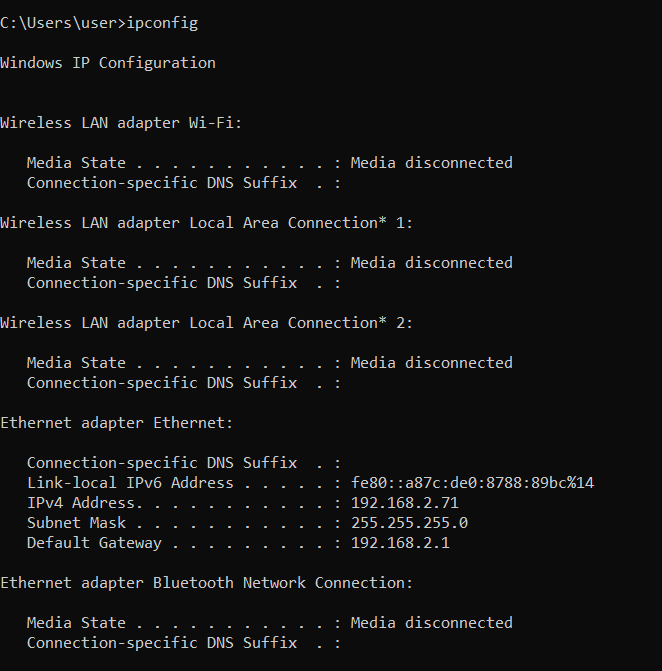
If running locally, use your IP address followed by the project folder. Example: 192.168.2.71/streamz/
Local Installation
Ensure XAMPP control panel is installed.
Copy the streamz-admin folder to your XAMPP htdocs directory.
Start your XAMPP control panel.
Create a database (e.g., streamz_db).
Import the db.sql file (located in Main_files) into your database.
Find your PC's IP address using Command Prompt:
Type: ipconfig
Copy the IPv4 address (example: 192.168.2.88)
Open your browser and visit:
http://your_ip_address/streamz-admin/admin
Example: http://192.168.2.88/streamz-admin/admin
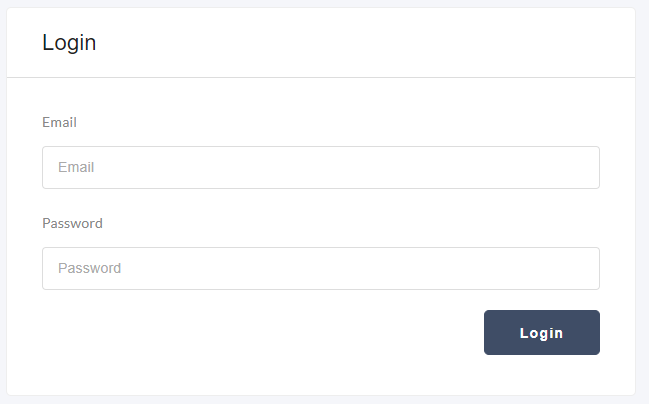
If the admin login page appears, the admin panel is working correctly.
Email: admin@gmail.com
Password: 123456
Server Installation
Import the database to your live server.
Copy the project folder to your live server directory.
Set writeable 777 permissions on the following folders and all subfolders:
admin\audio
admin\uploads
admin\uploads\thumb
Login as Admin:
UserName: admin@gmail.com
Password: 123456
Installation via Terminal (Ubuntu)
Complete Installation Guide for Streamz on Ubuntu
This guide will help you set up the Streamz project on your Ubuntu system
with proper Apache configuration.
Step-by-Step Installation
1. Install Apache Web Server
sudo apt update
sudo apt install apache2
sudo ufw allow in "Apache Full"   # if firewall enabled
sudo systemctl start apache2
sudo systemctl enable apache2
2. Install MySQL Server
sudo apt install mysql-server
sudo mysql_secure_installation
sudo mysql --version
3. Install PHP 8.2 and Required Extensions
sudo apt install software-properties-common
sudo add-apt-repository ppa:ondrej/php
sudo apt update
sudo apt install php8.2 libapache2-mod-php8.2
sudo apt install php8.2-mysql php8.2-gd php8.2-mbstring php8.2-xml php8.2-curl
sudo systemctl restart apache2
4. Copy Project to Web Root
# Copy your streamz folder
sudo cp -R /path/to/your/streamz /var/www/html/

# Set proper ownership
sudo chown -R www-data:www-data /var/www/html/streamz
5. Create Database and Import SQL
# Login to MySQL
sudo mysql -u root -p

# Inside MySQL prompt
CREATE DATABASE streamz_db;
CREATE USER 'streamz_user'@'%' IDENTIFIED BY 'your_password';
GRANT ALL PRIVILEGES ON streamz_db.* TO 'streamz_user'@'%';
FLUSH PRIVILEGES;
EXIT;

# Import database
mysql -u root -p streamz_db < /path/to/streamz_db.sql
6. Configure Database Connection
sudo nano /var/www/html/streamz/private/init.php

$dbname   = "streamz_db";
$username = "streamz_user";
$password = "your_password";
$host     = "localhost";
7. Configure Apache Virtual Host
sudo nano /etc/apache2/sites-available/streamz.conf

<VirtualHost *:80>
    ServerAdmin admin@localhost
    ServerName streamz.local
    DocumentRoot /var/www/html/streamz

    <Directory /var/www/html/streamz>
        Options Indexes FollowSymLinks
        AllowOverride All
        Require all granted
    </Directory>

    ErrorLog ${APACHE_LOG_DIR}/streamz_error.log
    CustomLog ${APACHE_LOG_DIR}/streamz_access.log combined
</VirtualHost>
8. Enable the Site and mod_rewrite
sudo a2enmod rewrite
sudo a2ensite streamz.conf
sudo a2dissite 000-default.conf
sudo systemctl restart apache2
9. Set Folder Permissions
sudo chown -R www-data:www-data /var/www/html/streamz
sudo chmod -R 755 /var/www/html/streamz
10. Configure Domain Name in init.php
// Using IP
define('DOMAIN_NAME', '192.168.x.x/streamz');

// OR using virtual host
define('DOMAIN_NAME', 'streamz.local');
11. Update Hosts File (if using streamz.local)
sudo nano /etc/hosts

127.0.0.1    streamz.local
12. Find Your IP Address
ip addr show
# OR
hostname -I
Access Your Application
Using IP: http://YOUR_IP_ADDRESS/streamz/admin
Using Virtual Host: http://streamz.local/admin
Default Admin Credentials
Email: admin@gmail.com
Password: 123456
Troubleshooting
Apache Configuration Check
sudo apache2ctl configtest
sudo tail -f /var/log/apache2/error.log
Database Connection Test
mysql -u streamz_user -p streamz_db
mysql -u root -p -e "SHOW GRANTS FOR 'streamz_user'@'localhost';"
PHP Test
echo "<?php phpinfo(); ?>" | sudo tee /var/www/html/streamz/test.php
sudo rm /var/www/html/streamz/test.php
Support
- Apache logs:
/var/log/apache2/error.log
- Verify PHP:
php -v
- Check Virtual Hosts:
sudo apache2ctl -S
Your Streamz application should now be running successfully on Ubuntu 🎉
Installation: Nginx on Ubuntu
You can find all necessary settings in the private/init.php file.
define("FOLDER_NAME", "");
define("DOMAIN_NAME", "your-domain-name" . FOLDER_NAME);
Nginx Configuration
server {
    listen 443 ssl;
    server_name your-domain-name;

    access_log /var/log/nginx/music.access.log;
    error_log /var/log/nginx/music.error.log;

    ssl_certificate /etc/letsencrypt/live/your-domain-name/fullchain.pem;
    ssl_certificate_key /etc/letsencrypt/live/your-domain-name/privkey.pem;

    root /var/www/streamz;
    index index.php index.html;

    # Increase upload size
    client_max_body_size 20M;

    # Fix double slashes in URLs - CRITICAL FIX
    merge_slashes off;
    rewrite ^([^.]*?)//+(.*)$ $1/$2 permanent;

    # Serve static files directly
    location ~* \.(css|js|jpg|jpeg|png|gif|ico|svg|woff|woff2|ttf|eot|mp3|mp4|webm|wav|m4a)$ {
        expires 30d;
        add_header Cache-Control "public, immutable";
        access_log off;
    }

    location / {
        try_files $uri $uri/ /index.php?$args;
    }

    location ~ \.php$ {
        include snippets/fastcgi-php.conf;
        fastcgi_param SCRIPT_FILENAME $document_root$fastcgi_script_name;
        fastcgi_pass unix:/run/php/php8.2-fpm.sock;

        # PHP upload settings
        fastcgi_param PHP_VALUE "upload_max_filesize=20M \n post_max_size=20M";
    }

    location ~ /\.ht {
        deny all;
    }
}
5 - Configure the Project
You can find all necessary settings in the
private/init.php file.
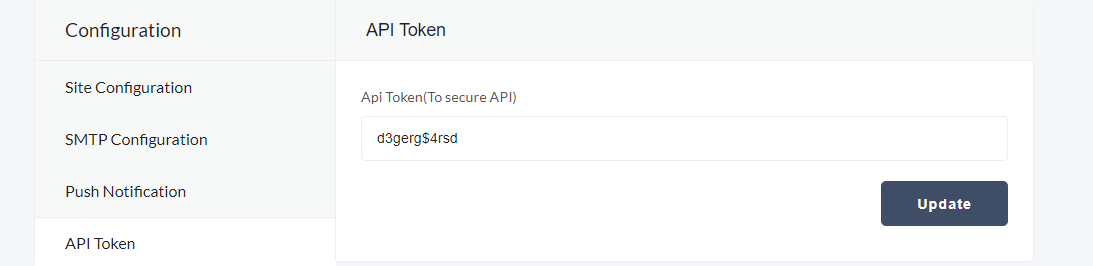
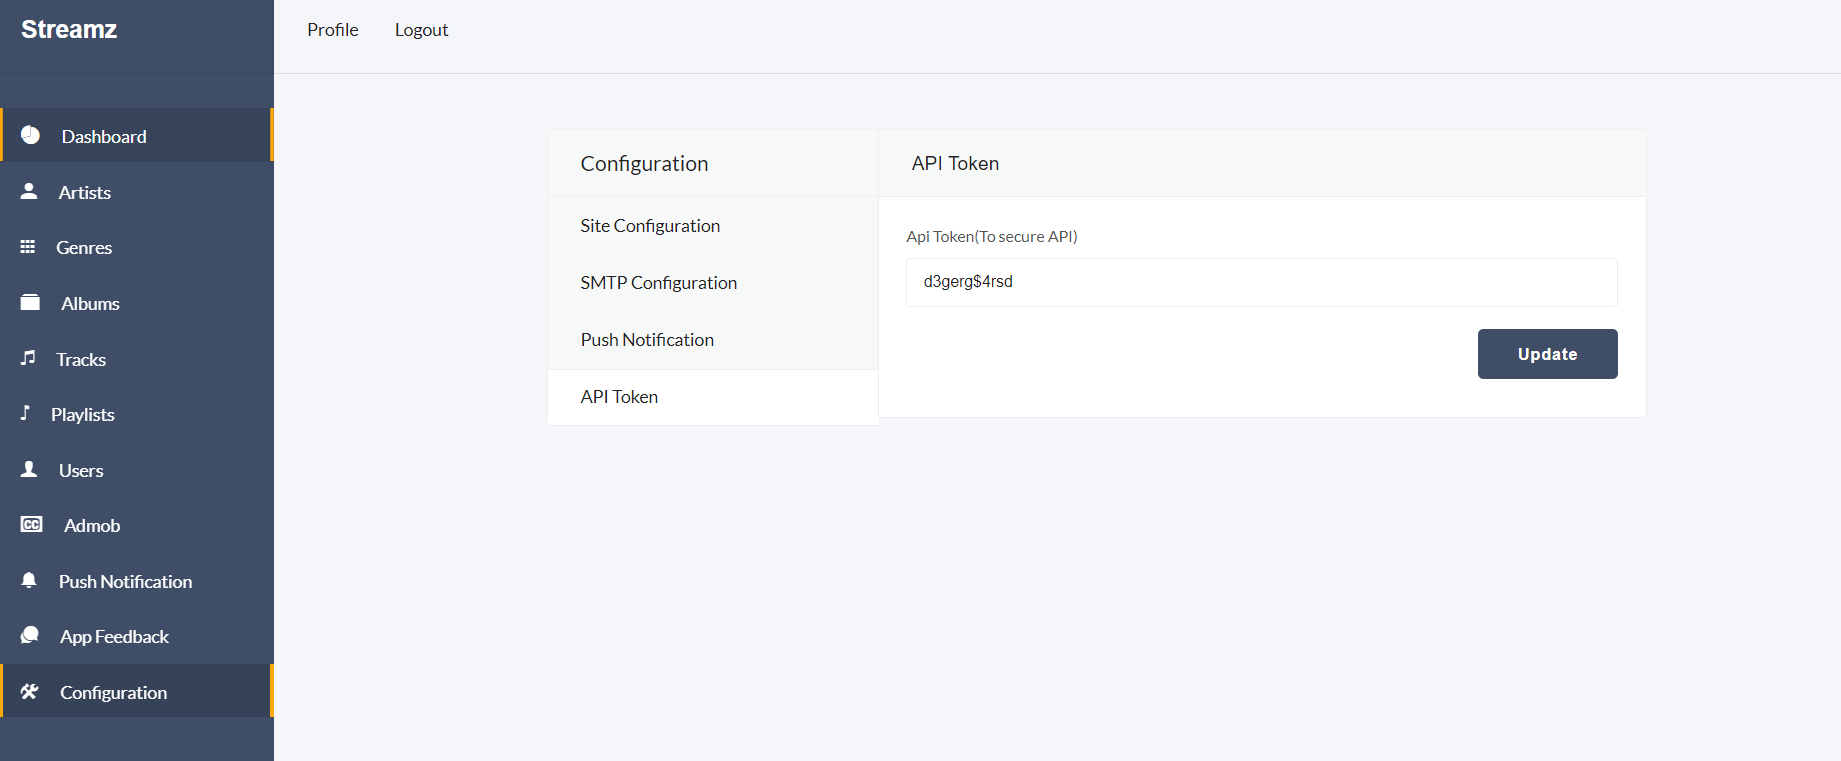
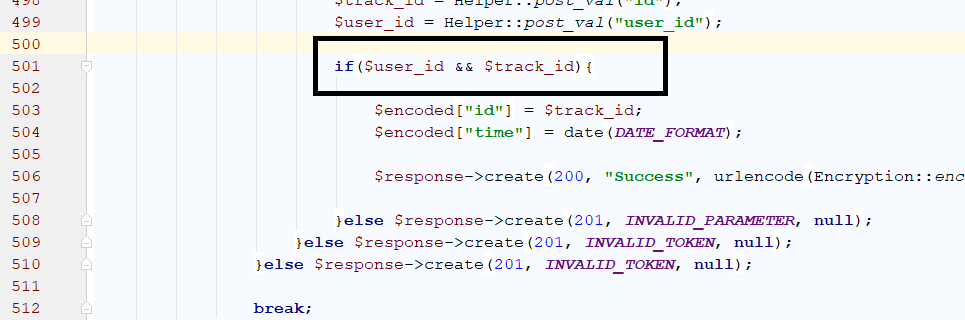
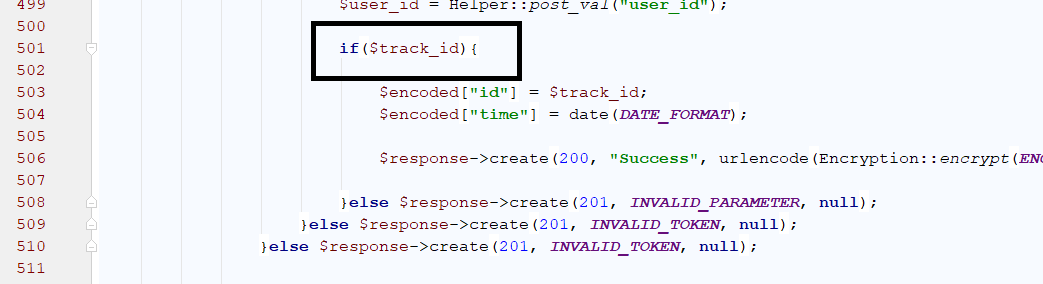
API Token for Admin
The admin must set the token in the ADMIN_TOKEN value.
This token must match the token from the admin panel for the project to run correctly.
define("ADMIN_TOKEN", "d3gerg$4rsd");
Time Zone
You can configure the time zone in init.php.
Find the following code and update the time zone as needed:
date_default_timezone_set('Asia/Dhaka');
Database Setup
To establish a database connection, configure your database credentials in init.php.
Server URL
Set your server URL to run the project properly:
define("DOMAIN_NAME", $protocol . "localhost/streamz/");
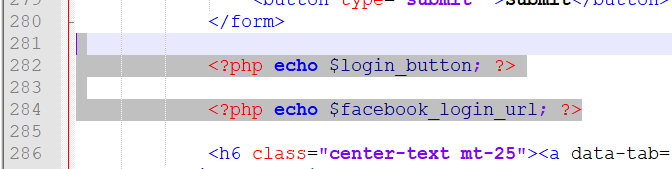
Google Login
To configure Google Login, generate a Client ID and Client Secret, then add them to init.php.
Facebook Login
To configure Facebook Login, generate a Facebook App ID and App Secret, then add them to init.php.
Folder Configuration
If you change a folder name, update the corresponding constant in init.php.
Pagination Item Count
You can change pagination counts for both frontend and admin panel by updating the constants:
define("API_PAGINATION", 12);
define("BACKEND_PAGINATION", 10);
File Upload
You can change the maximum upload size for images and audio (in MB) by updating the constants:
define("MAX_IMAGE_SIZE", 1.5);
define("MAX_AUDIO_SIZE", 10);
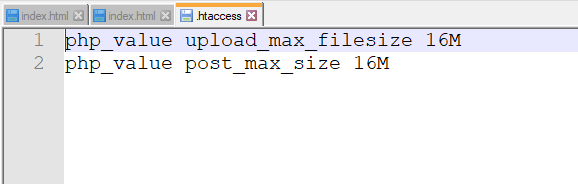
Also update the following lines in .htaccess:
php_value upload_max_filesize 20M
php_value post_max_size 20M
Multiple File Upload Count
Change the maximum number of uploaded files by updating:
define("MAX_FILE_COUNT", 10);
Suggested Search Item Count
Change the number of suggested items in search results:
define("SEARCH_TERM_COUNT", 15);
Download Link Active Duration
Set the active duration for download links (in minutes):
define("DOWNLOAD_LINK_ACTIVE_TIMING", 10);
Uploaded Image Ratio
Change the ratio of uploaded images from the admin panel:
define("IMAGE_RATIO", "1/1");
Supported Audio Files
Update supported audio types and MIME types as needed:
define("SUPPORTED_AUDIO", ["mp3", "wav", "m4a"]);
define("SUPPORTED_AUDIO_MIME", ["audio/mpeg", "audio/x-wav", "audio/x-m4a", "application/octet-stream", "video/mp4"]);
6 - Google Login
Go to the
Google API Console.
Select an existing project from the list,
or click NEW PROJECT to create a new one.
Enter the Project Name.
Below the Project Name, Google API Console will automatically generate a Project ID.
You can optionally edit the Project ID using the Edit link, but it must be unique worldwide.
Click CREATE. The project will be created within a few seconds.
In the left navigation panel, select Credentials under the APIs & Services section.
Select the OAuth consent screen tab and configure the consent screen settings.
Enter your Application name in the Application name field.
Select a support email in the Support email field.
Specify the domains allowed to authenticate using OAuth under Authorized domains.
Click Save.
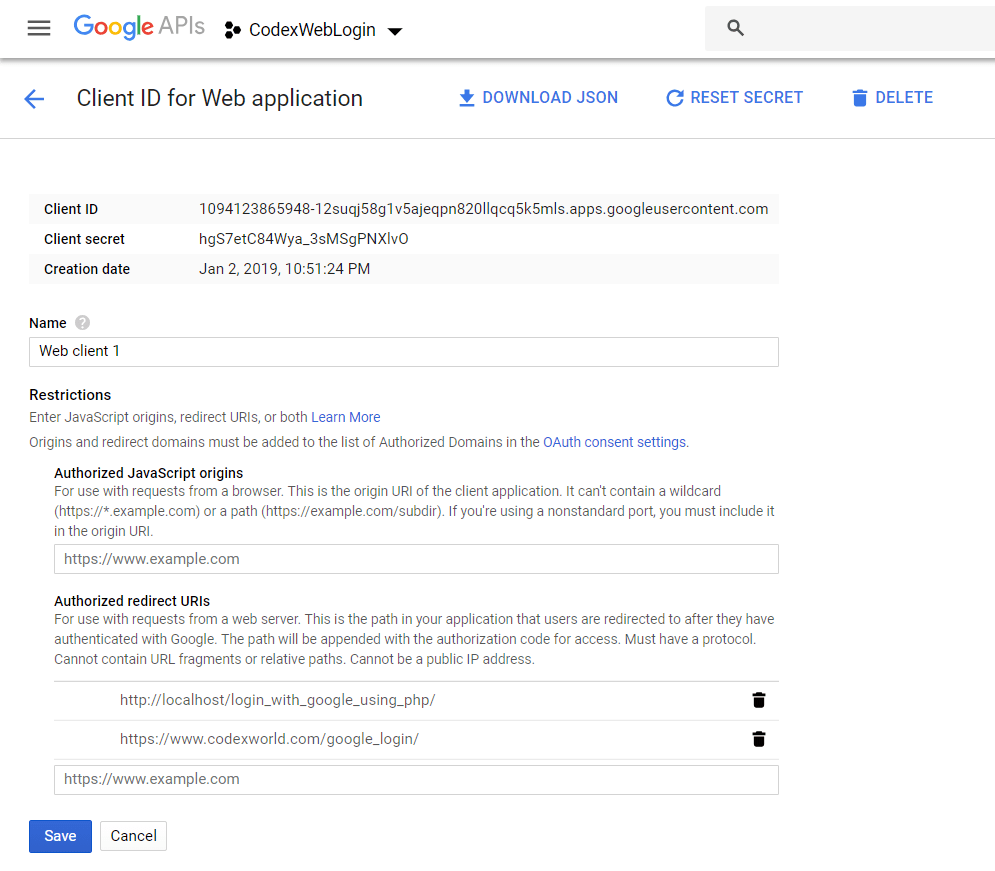
Go to the Credentials tab, click Create credentials dropdown, and select OAuth client ID.
Under Application type, select Web application.
Enter the redirect URL in Authorized redirect URIs.
Click Create.
A dialog will appear with OAuth client details. Note the Client ID and Client Secret, which are required to access Google APIs.
Note: The Client ID and Client Secret must match the values in your script when making Google API calls.
Also, ensure the Authorized redirect URI matches the redirect URL defined in the script.
Paste the Client ID, Client Secret, and redirect URL into the init.php file.
If you encounter any difficulties configuring Google Login, check
this YouTube video
or read
this article.
7 - Sign in with Facebook
To implement Facebook Login for your application, the first step is to create an app using your Facebook account.
Sign in to Facebook and go to
developer.facebook.com.
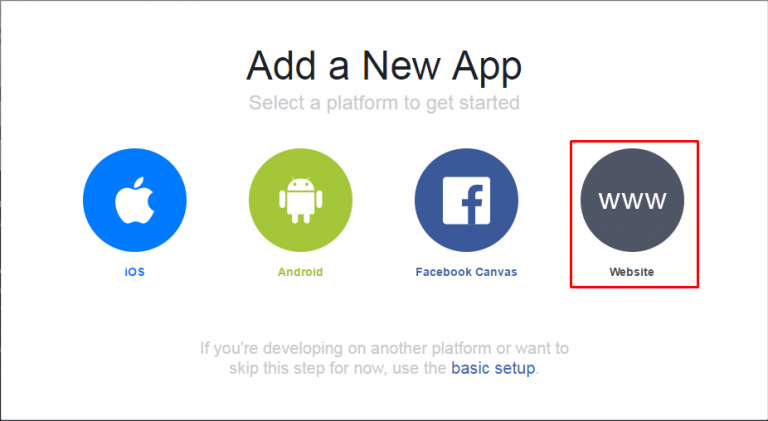
Once there, create a new app.
Click the Add New App button and select Website as the platform.
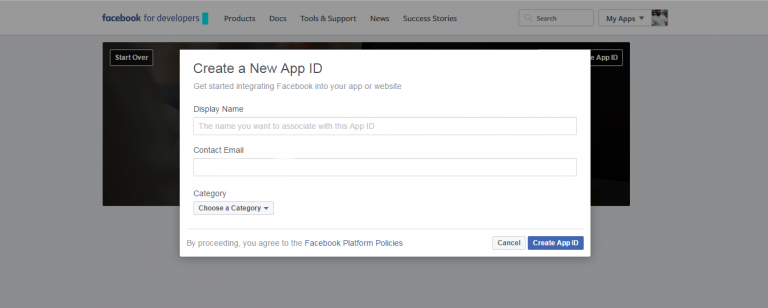
Enter the app’s name, an email address, and select a category for the application. Then click Create App ID to create the app.
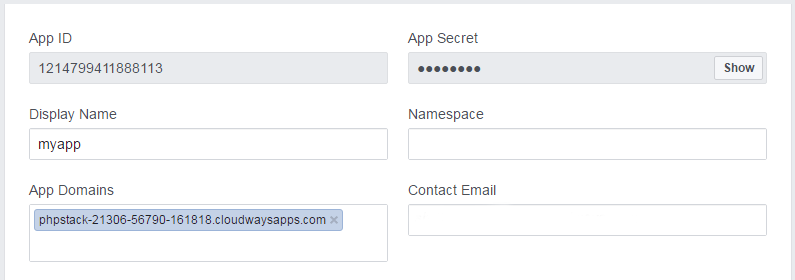
Go to Settings to find the App ID and App Secret. These will be used in your PHP application.
Remember to add your website’s URL under App Domains.
Scroll down and click Add Platform. Select Website and enter your website URL.
This completes the creation of the Facebook App. Next, set up a server on a reliable hosting platform. (Example: Cloudways PHP stack server)
Paste the App ID, App Secret, and redirect URL into the init.php file.
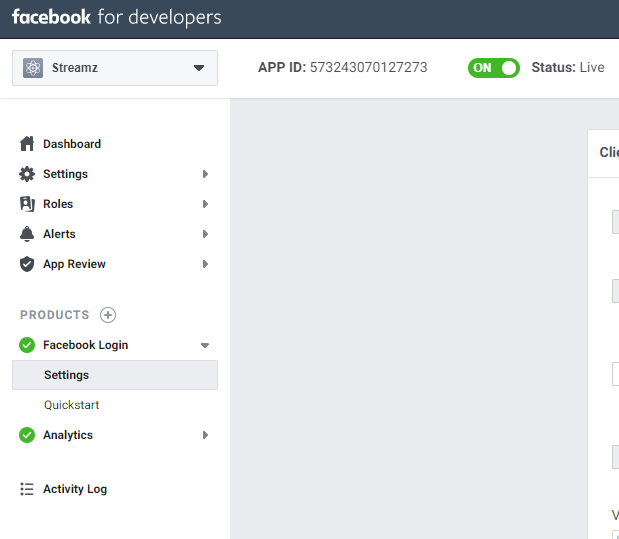
Finally, set the status of the app to Live.
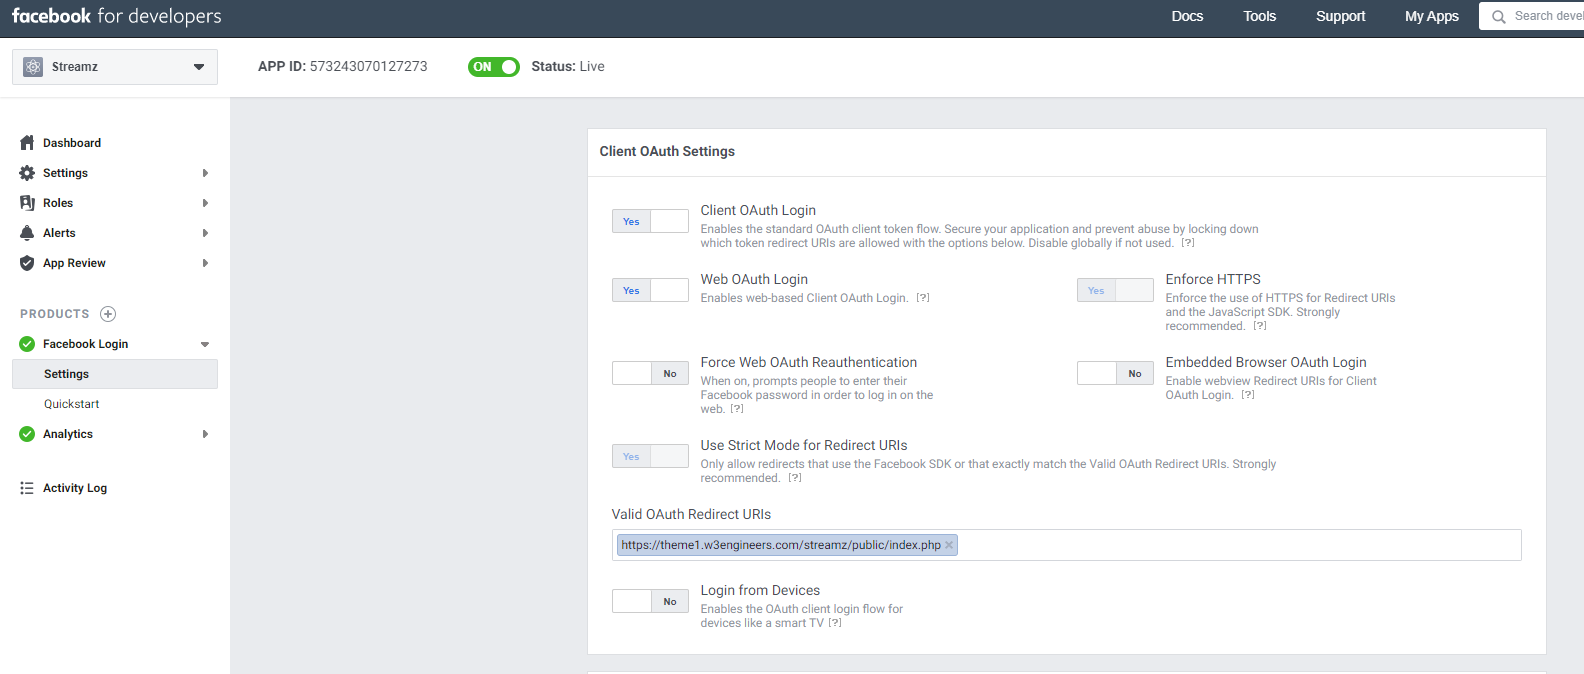
Go to Facebook Login > Settings and enter your server link in Valid OAuth Redirect URIs.
If you encounter any difficulties configuring Facebook Login, check
this YouTube video
or read
this article.
8 - SMTP Server Configuration
SMTP Configuration from Server
To enable confirmation emails and the forgot password functionality,
you need to configure your SMTP server.
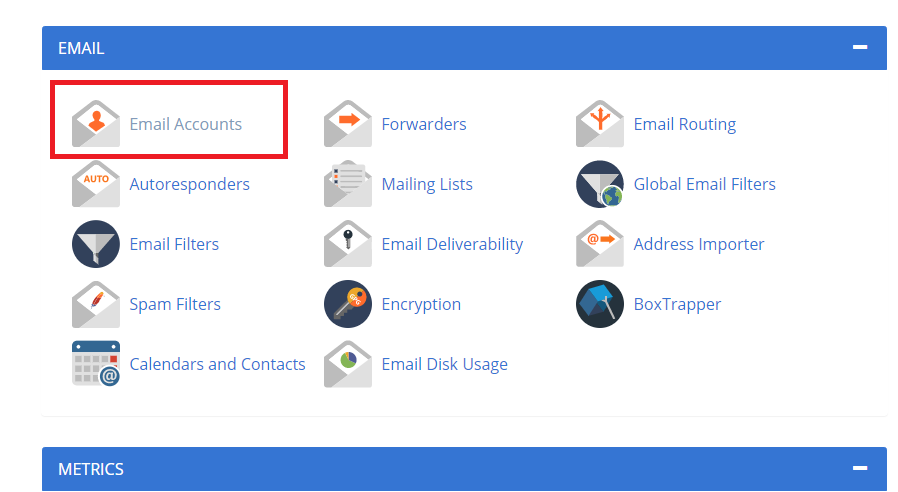
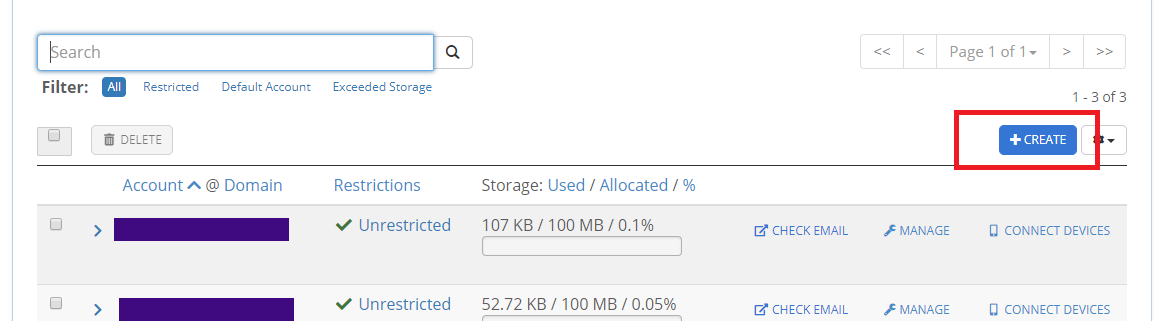
Login to your cPanel, go to Email Accounts, and click to continue.
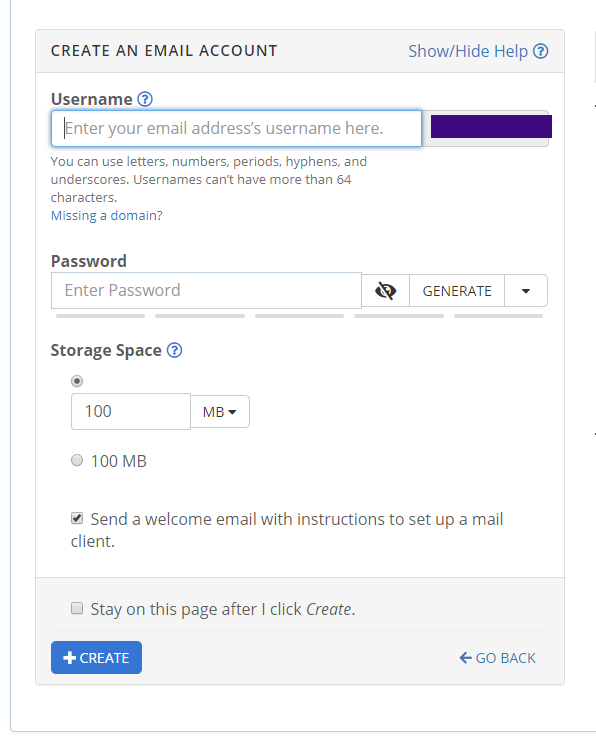
Click Create.
Fill out the form to create an email account and copy the password.
Click Connected Devices.
You will see two sections for settings. Use SSL if your server supports it; otherwise, use non-SSL. Enter all credentials in the admin panel.
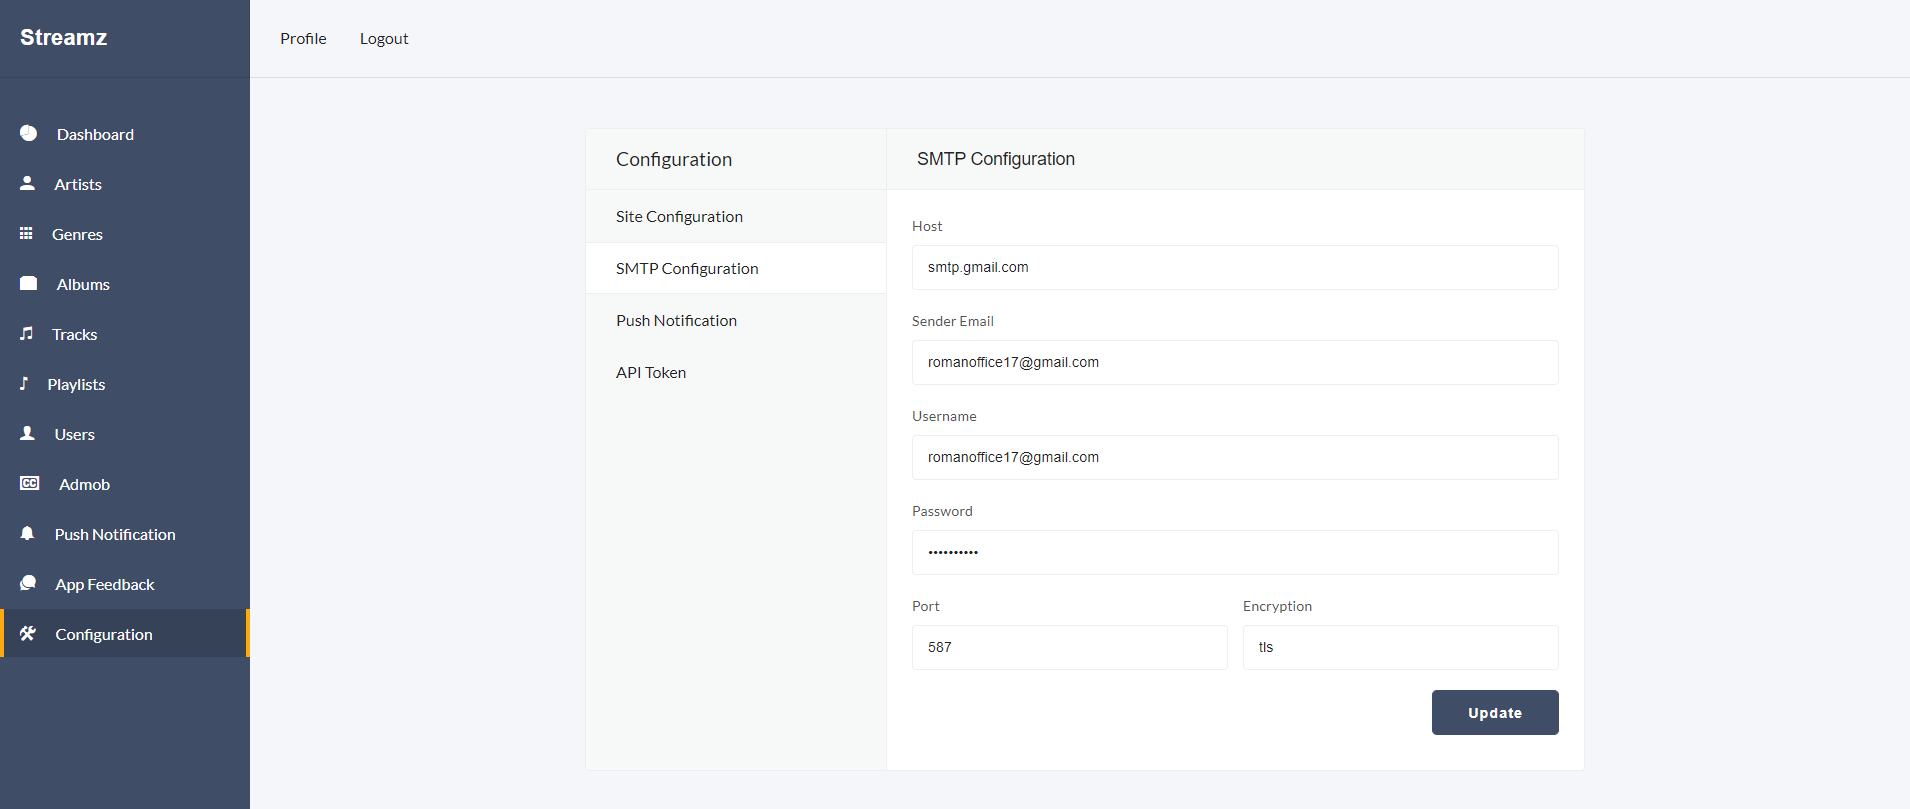
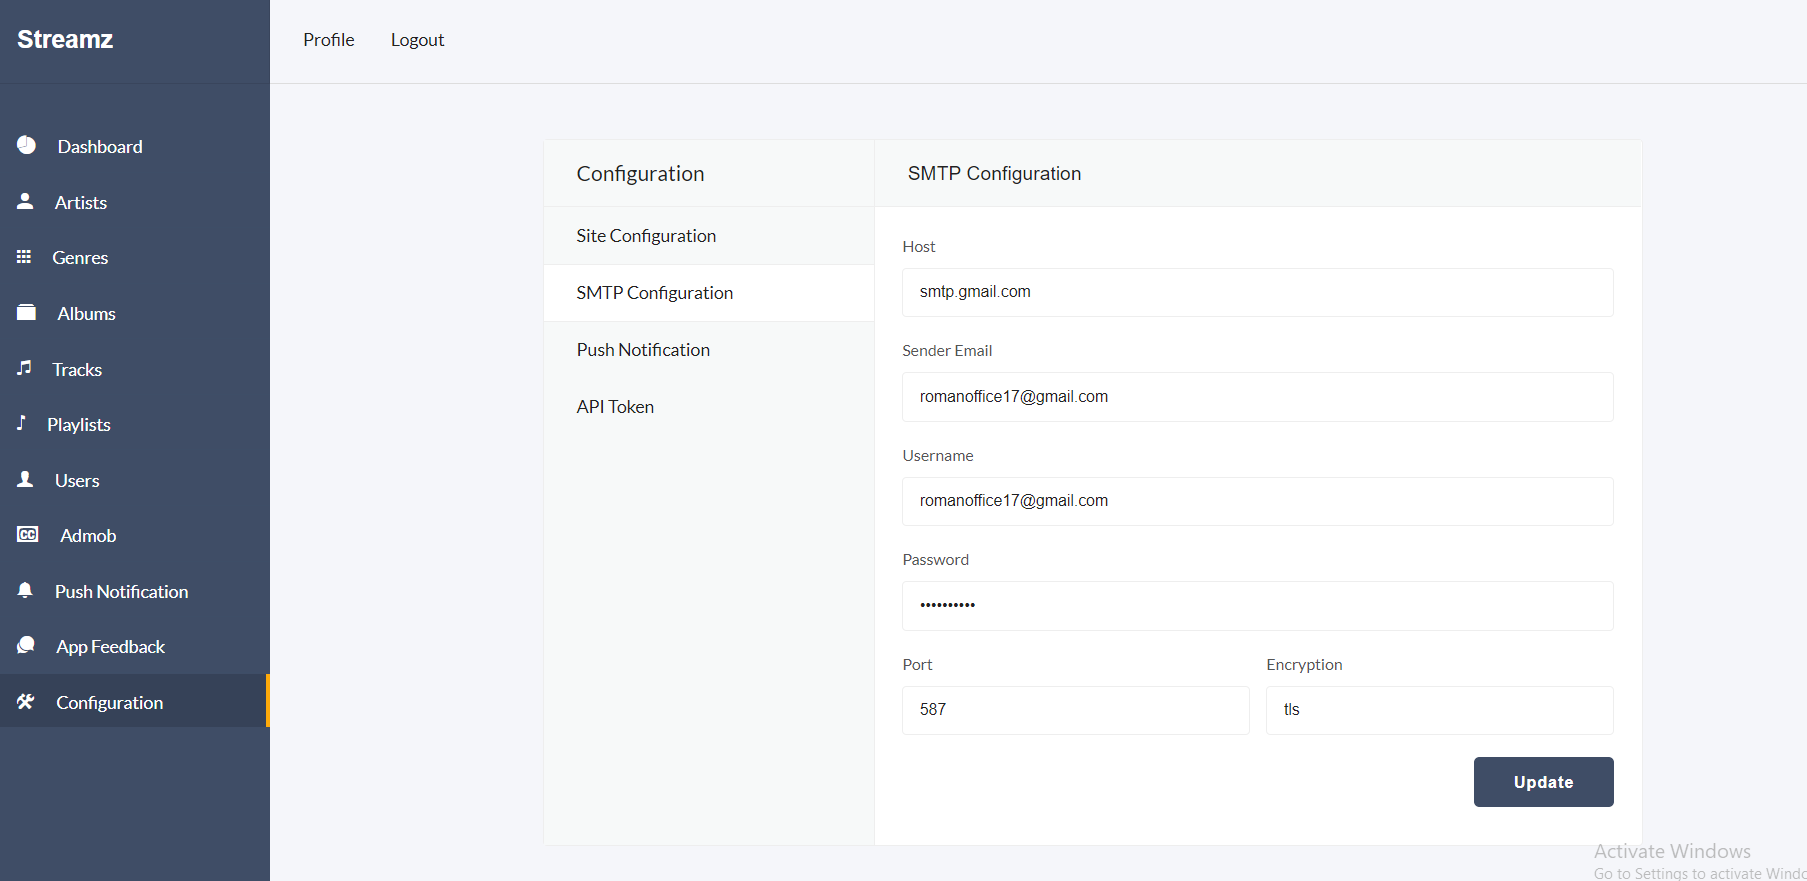
To configure the SMTP server, go to Configuration >> SMTP Configuration from the sidebar and update the server credentials:
Host
Sender Email
Username
Password
Port
Encryption
Google SMTP Server Configuration
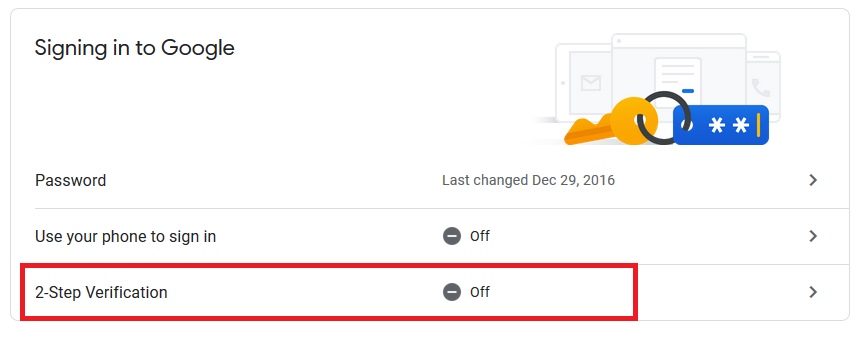
Login to your Gmail account.
Then visit:
https://myaccount.google.com/security
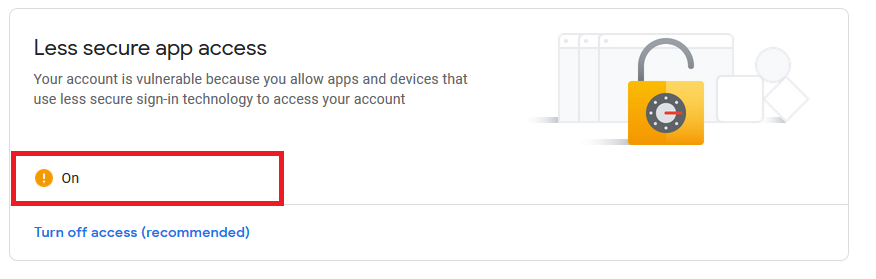
On the security page, turn off 2-step verification.
Enable Less secure app access.
Also visit:
https://accounts.google.com/b/0/DisplayUnlockCaptcha
and enable it.
Admin Panel
9 - Folder Structure of Admin Panel
Inside the project folder, you will find the following directories, which are important for setting up and customizing the admin panel.
home directory: Contains all public files, uploaded images, audio files, and APIs.
api: List of all APIs.
admin\common\php: Common files like header, footer, sidebar.
admin\common\other: Custom style and script files.
admin\plugin-frameworks: All external style and JavaScript files.
admin\uploads: All uploaded image and video files.
private directory: Contains all private files such as models and controllers.
private\init.php: Contains backend settings like database credentials, folder names, and pagination item counts.
private\models: All model files.
private\vendor: External PHP scripts like PHPMailer.
Please make sure you have updated the database credentials in private/init.php.
Please ensure that the following folders have writable 777 permissions:
admin\audio
admin\uploads
admin\uploads\thumb
Changing Maximum File Size
To change the maximum file size of uploads on the server, first update the post_max_size and upload_max_filesize in your server configuration and then restart the server. For details, visit
this link.
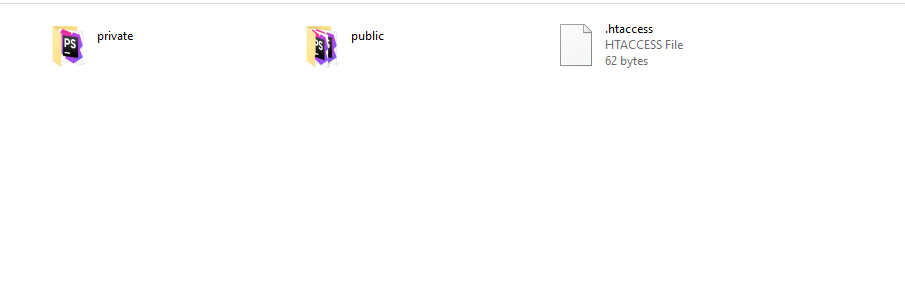
The project root contains a .htaccess file.
You can modify this file to configure server upload file limits.
Also, update the following constants in private/init.php:
define("MAX_IMAGE_SIZE", 1.5);
define("MAX_AUDIO_SIZE", 50);
define("MAX_VIDEO_SIZE", 25);
Open private/init.php and change the values of MAX_IMAGE_SIZE, MAX_AUDIO_SIZE, and MAX_VIDEO_SIZE accordingly.
10 - Functionality of Admin Panel
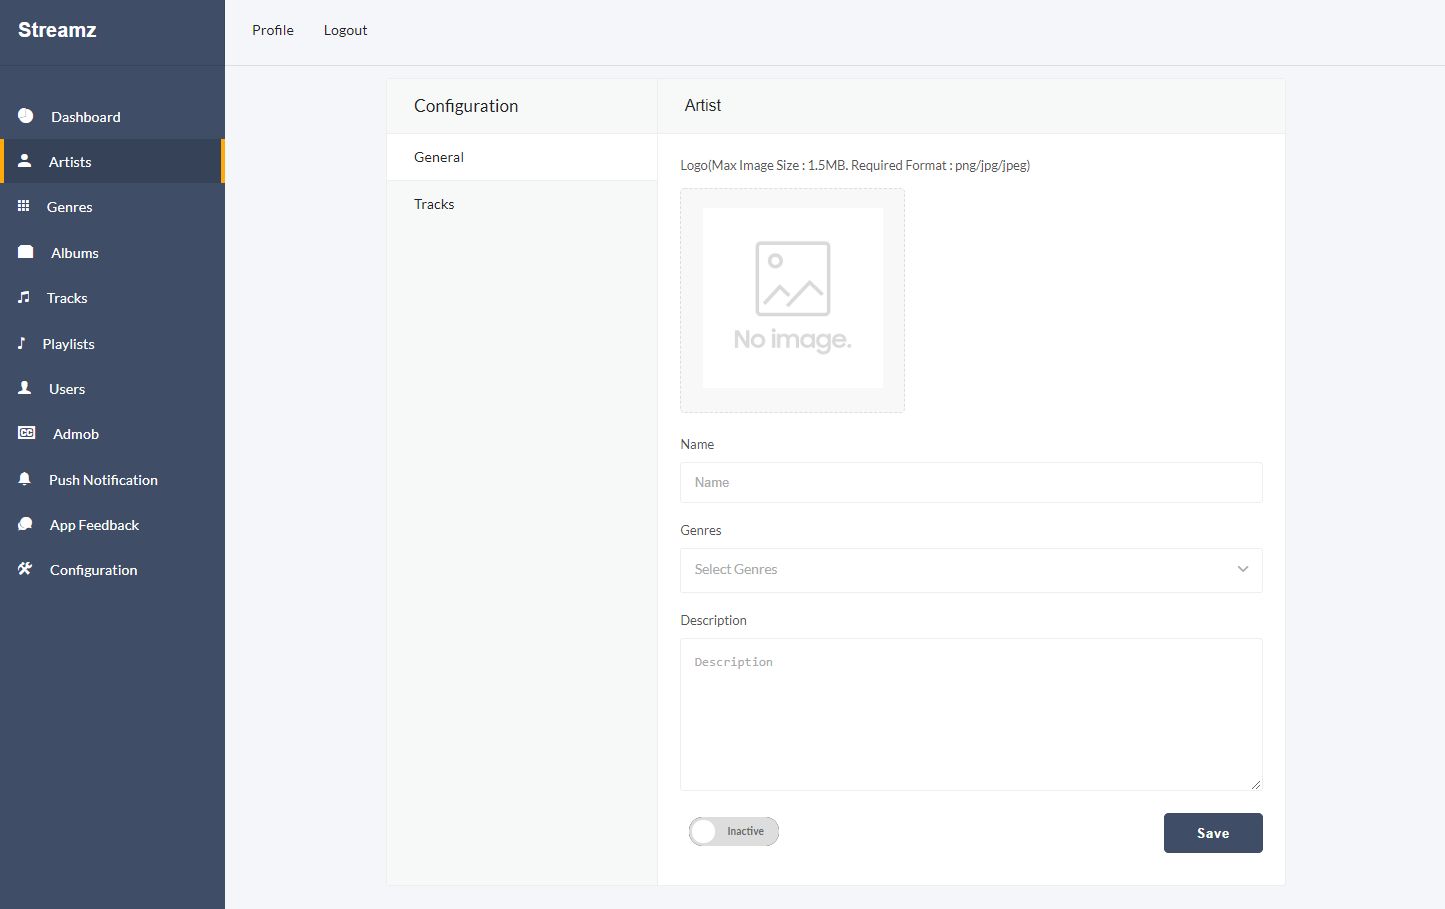
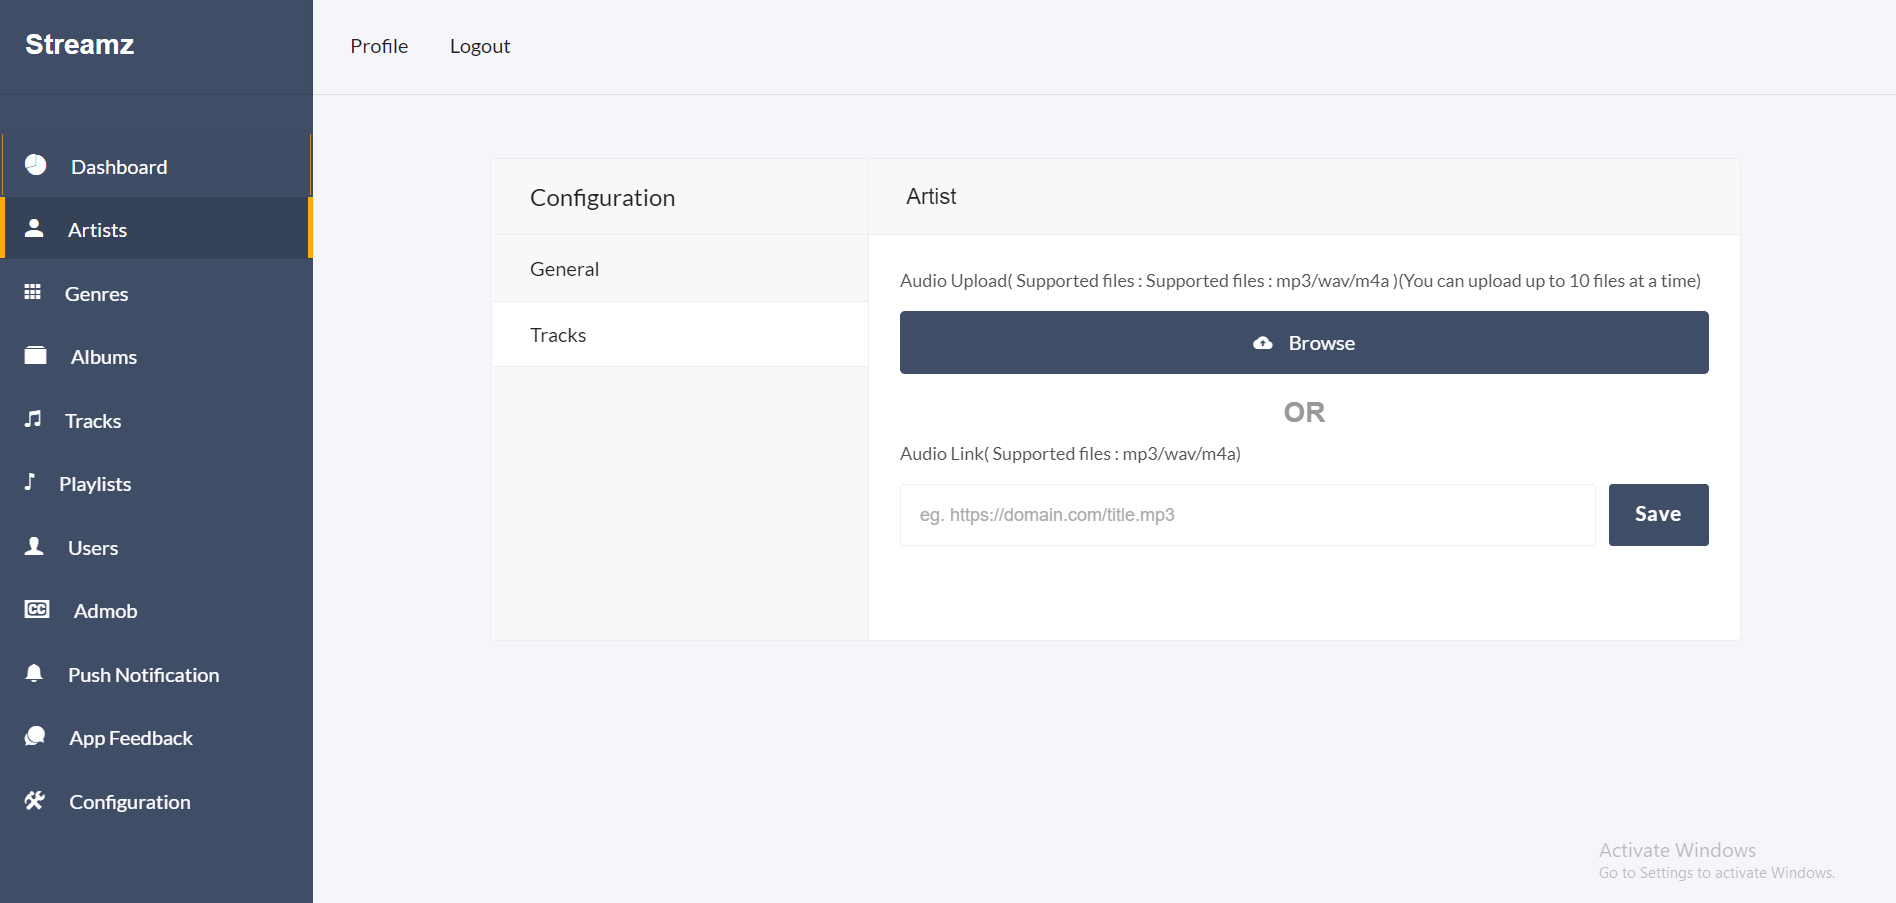
Artist
Admin must create an artist before adding tracks. Provide the image, artist name, genre (if no genre exists, create one), description, and activate the artist by clicking the switch button before adding.
Admin can upload multiple tracks from the artist > tracks option.
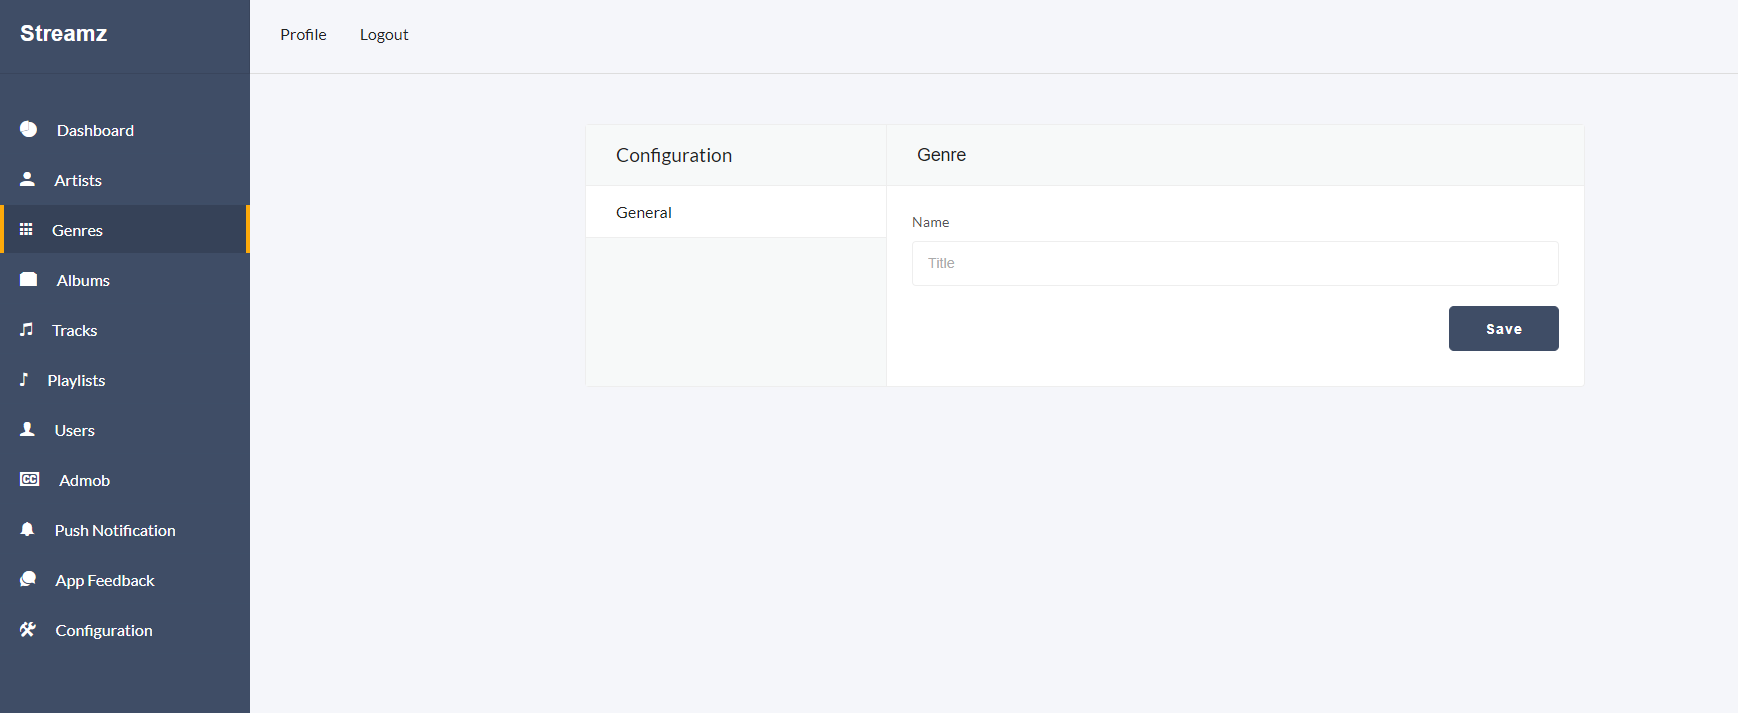
Genres
Admin can view, create, update, or delete genres from the genre sidebar.
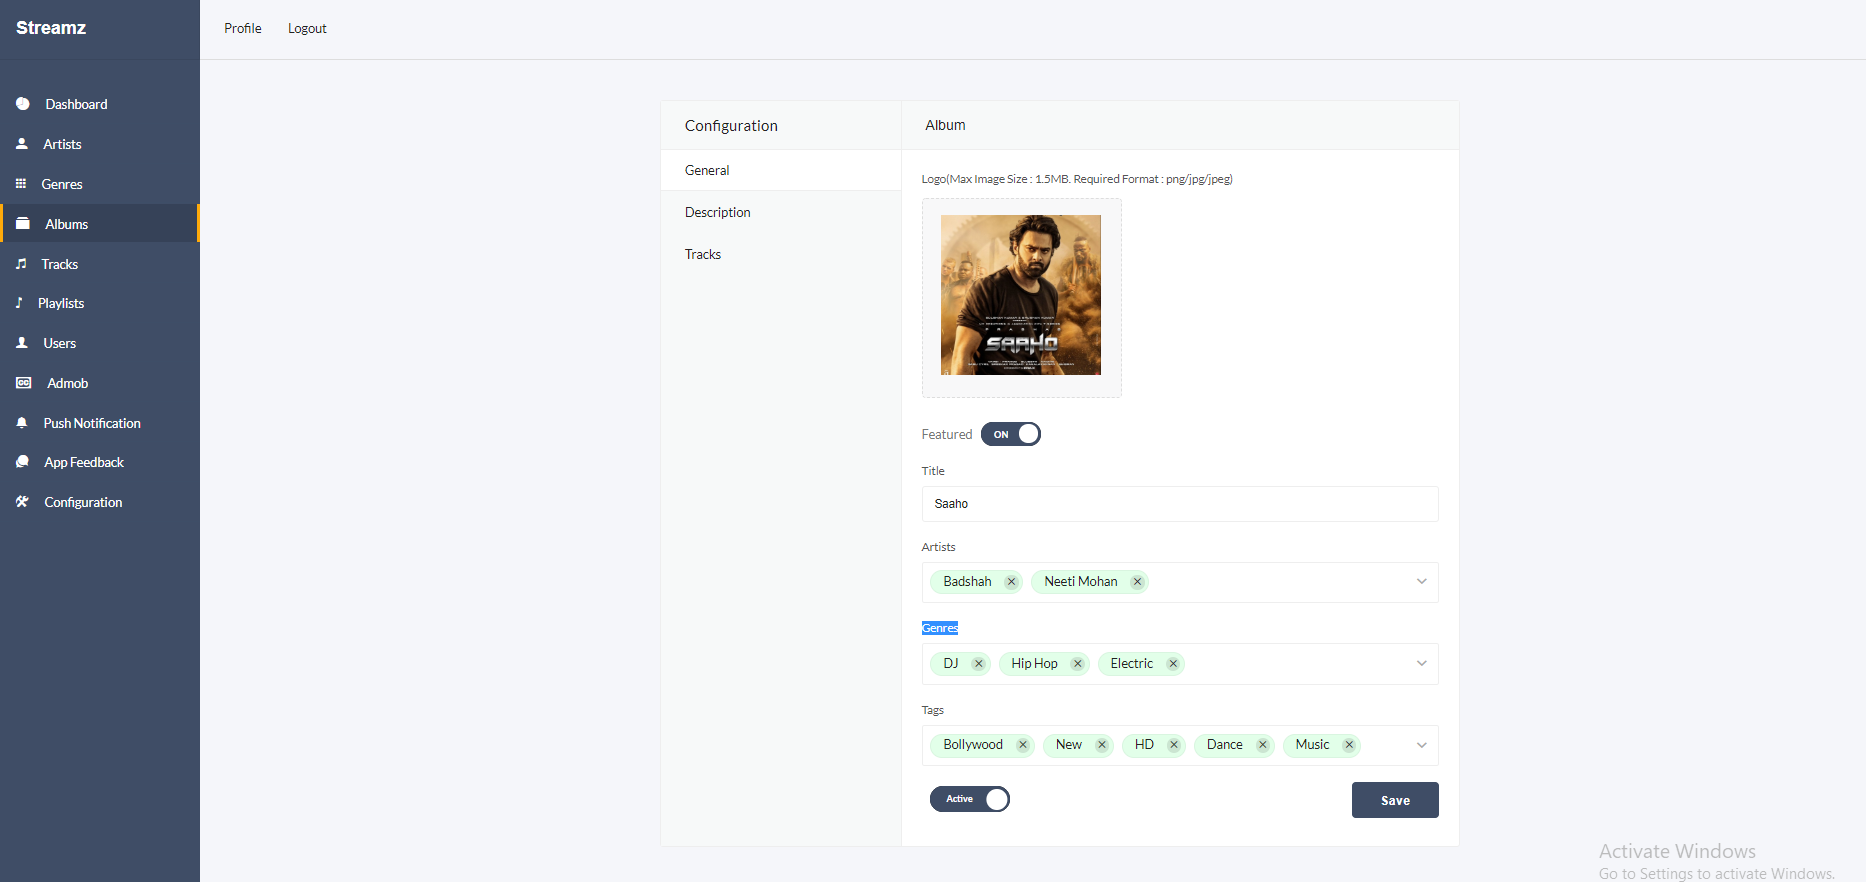
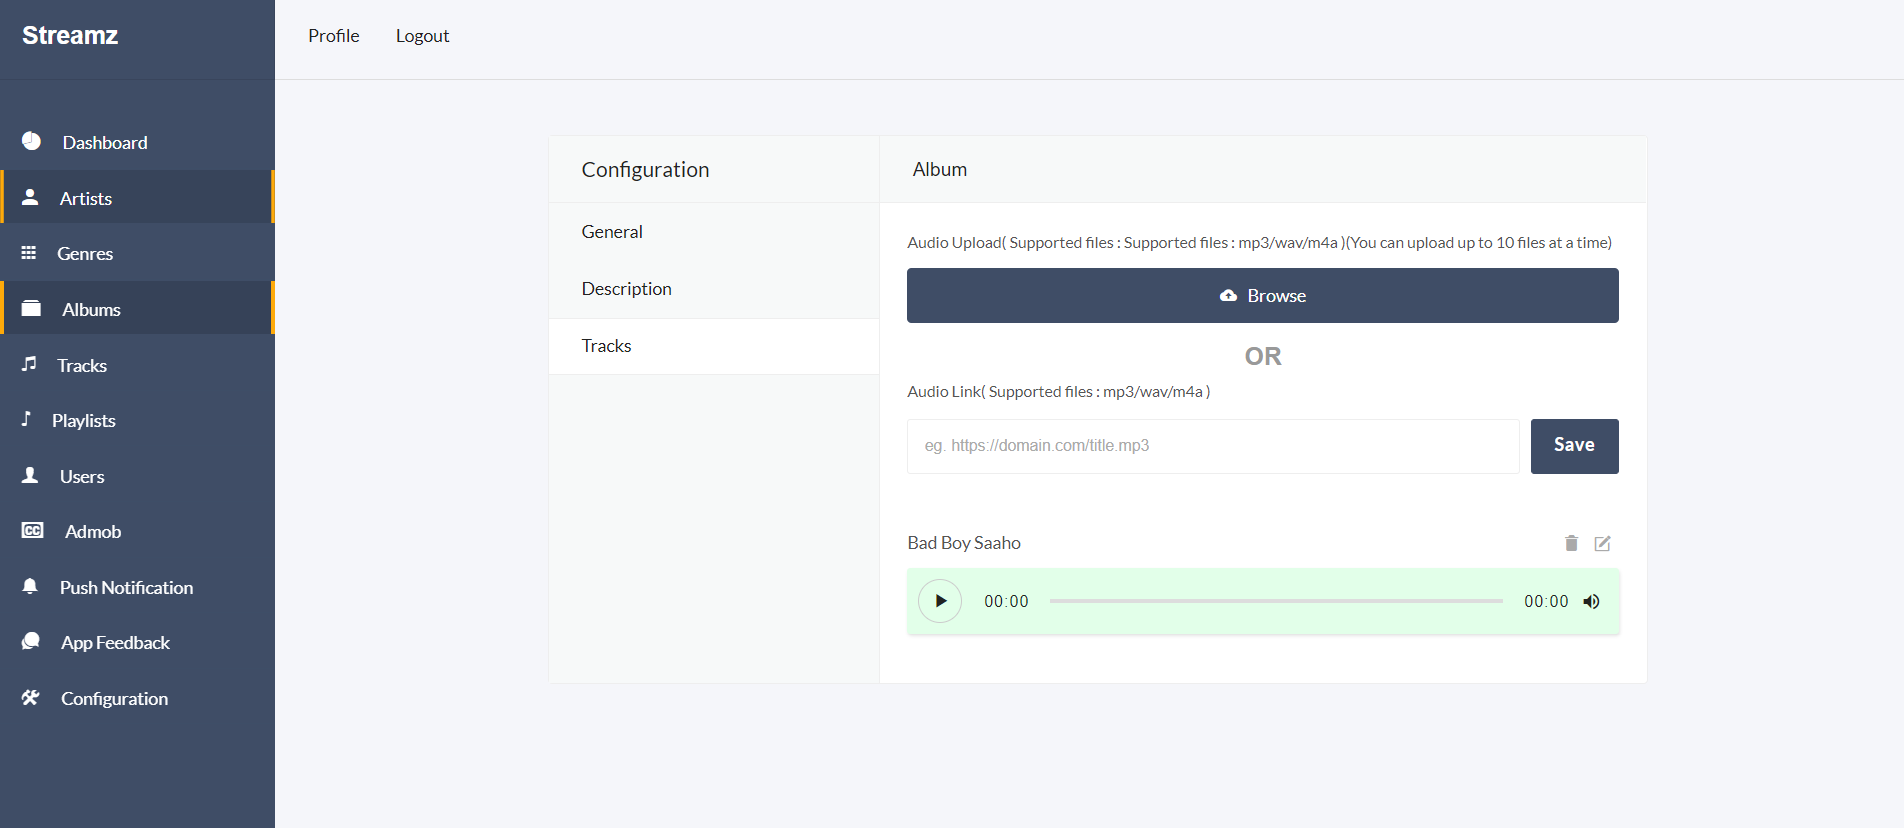
Albums
Admin can view, create, update, or delete albums from the albums sidebar. Upload the album image, make it featured (featured albums appear in the app slider), provide the title, artist, genres, and optional tags, then activate the album.
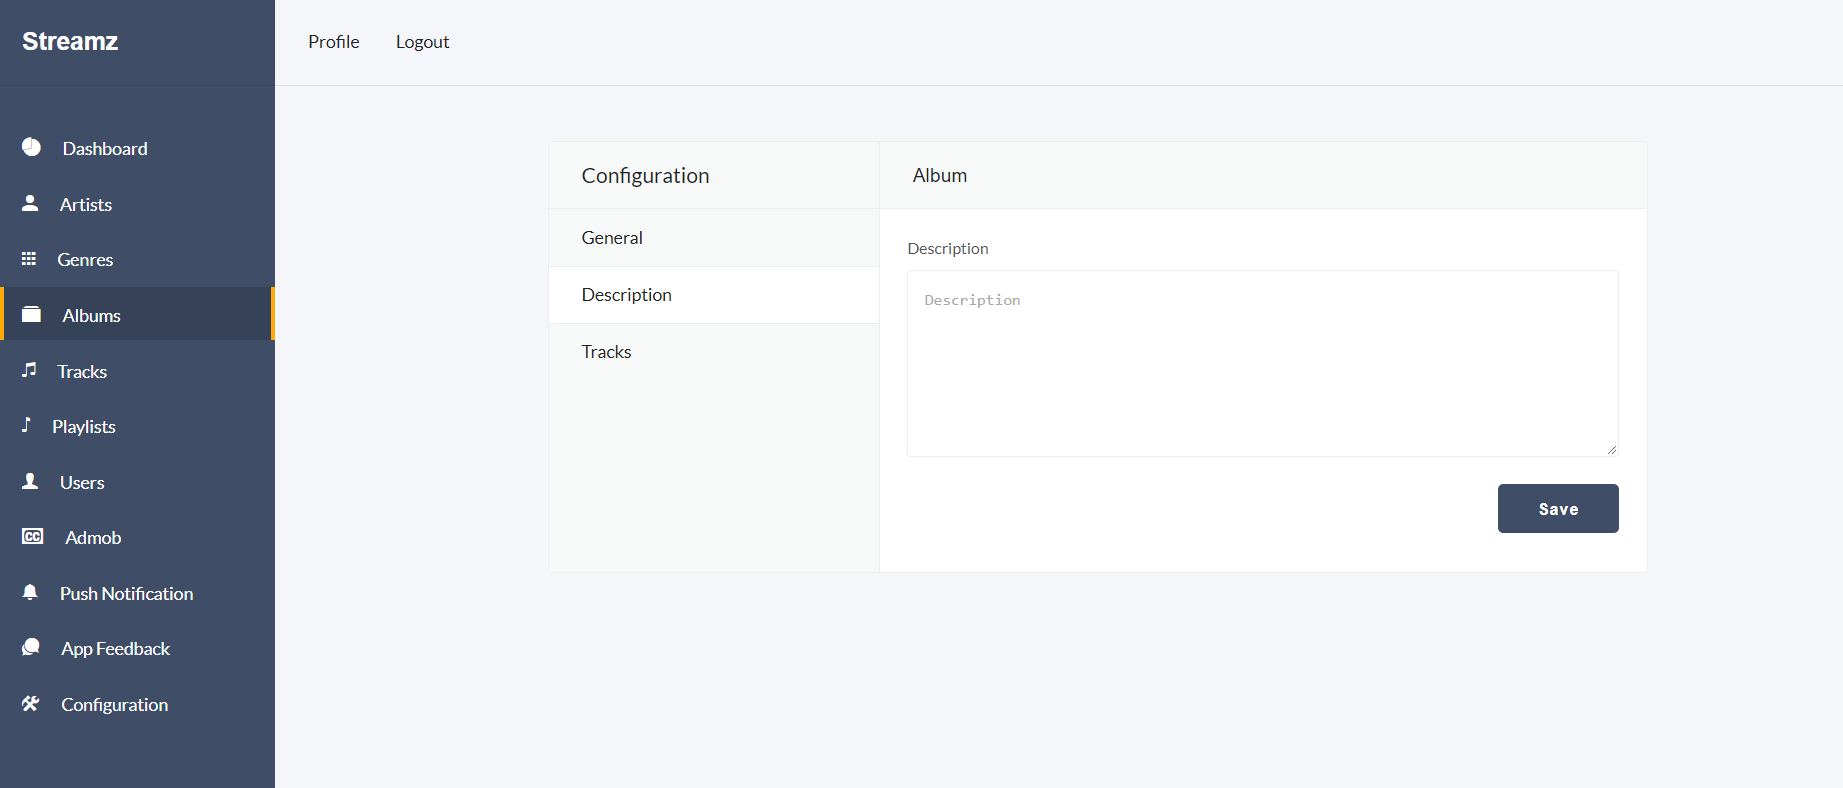
Admin can add a description for the album via album > description.
Admin can upload multiple tracks via album > tracks.
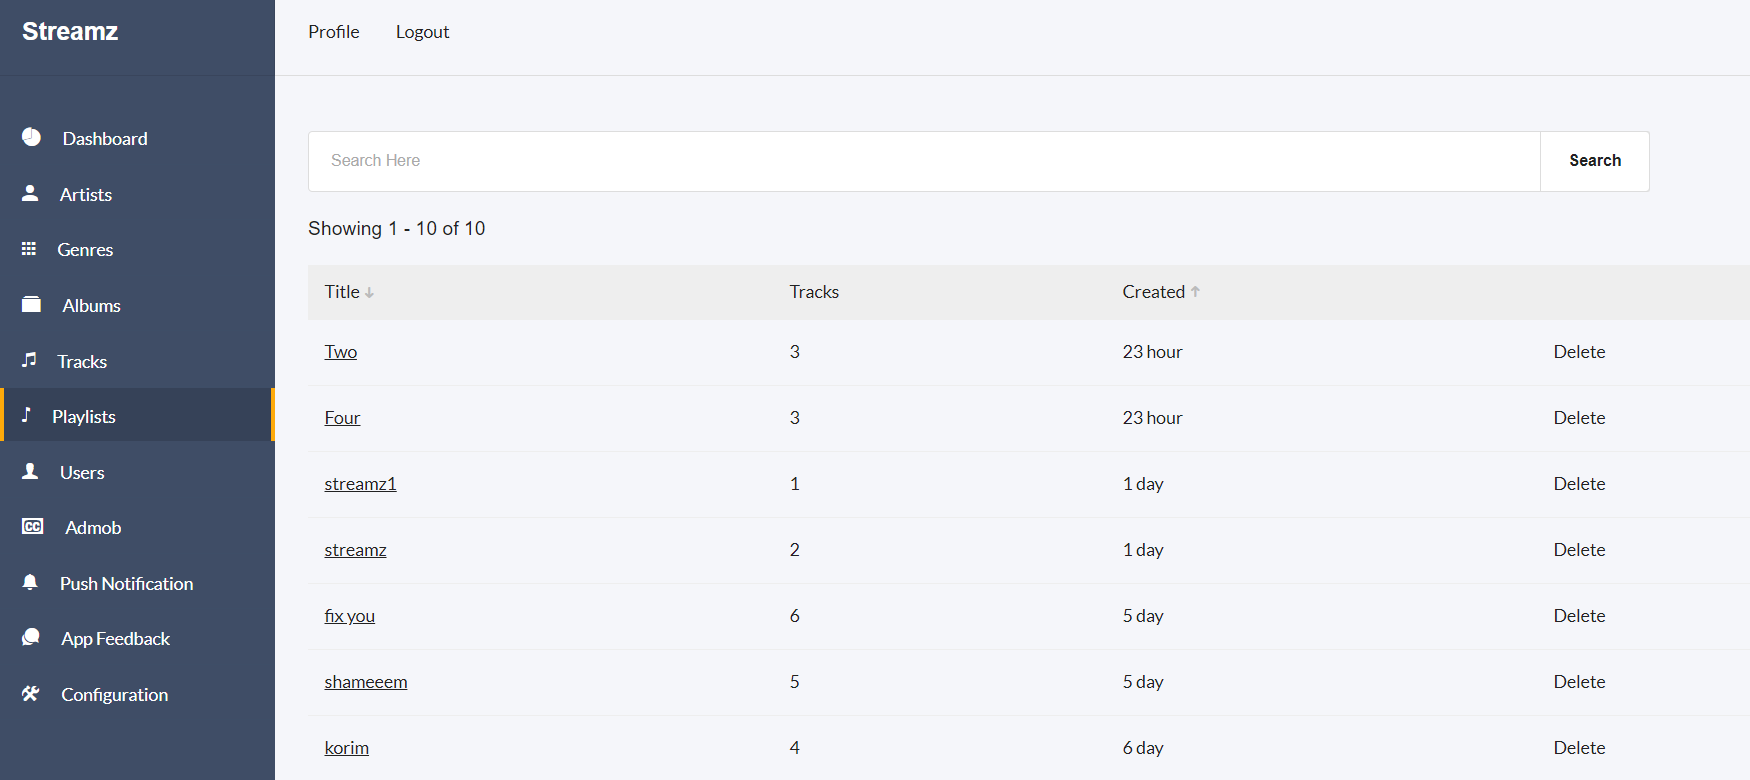
Playlist
All playlists are shown on this page. Admin can view or delete playlists from here.
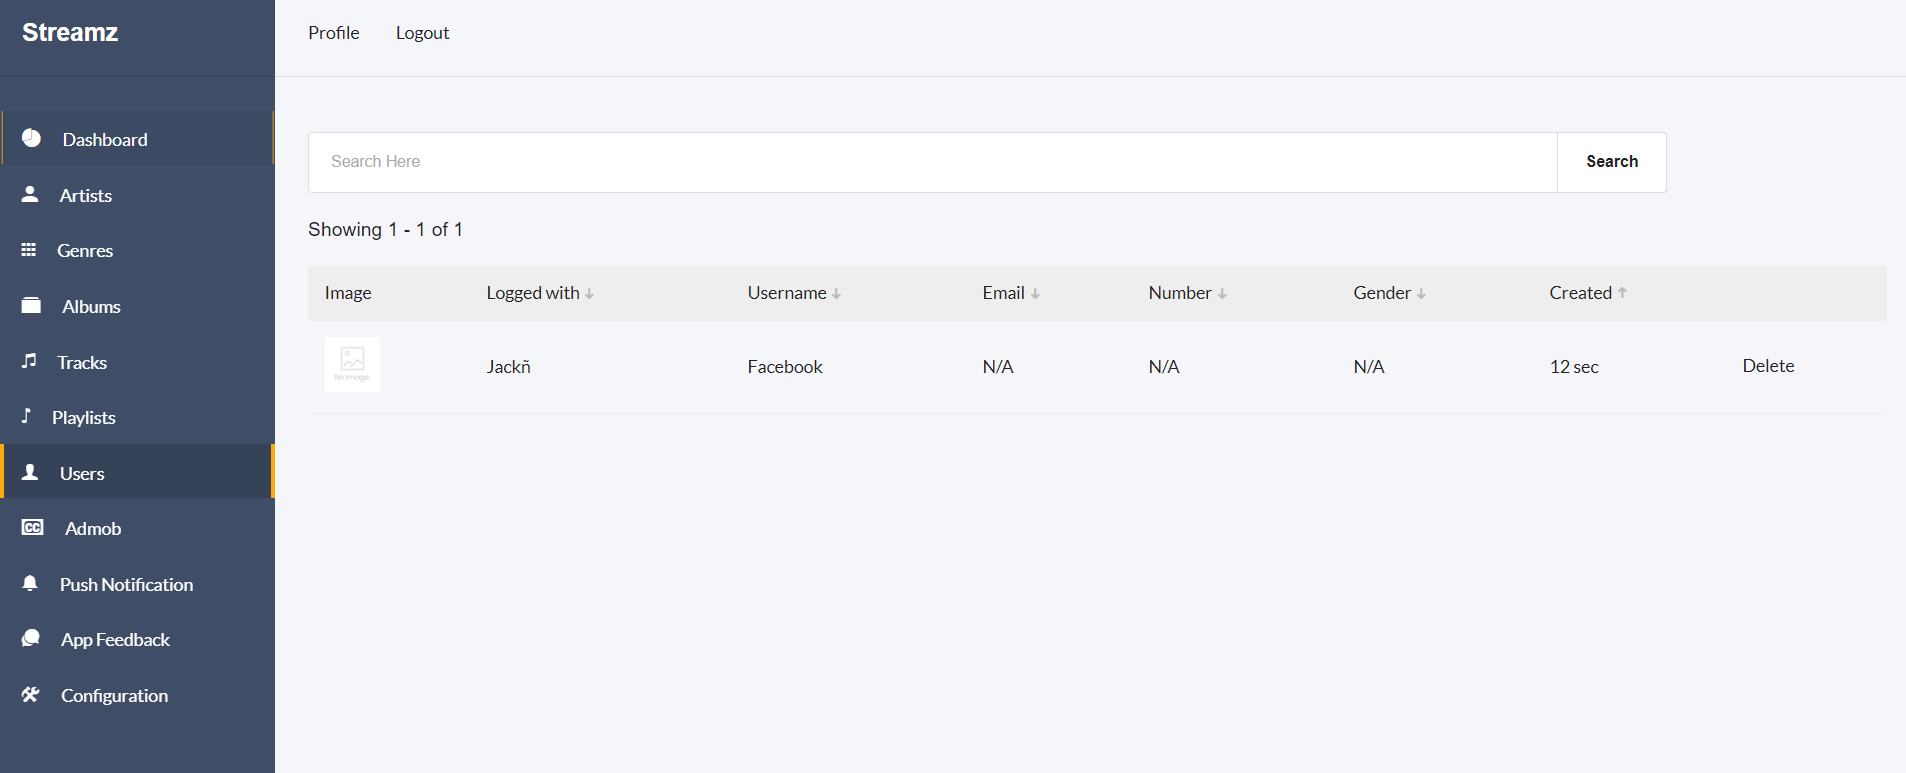
Users
On the Users page, admin can view all registered users and delete users if necessary.
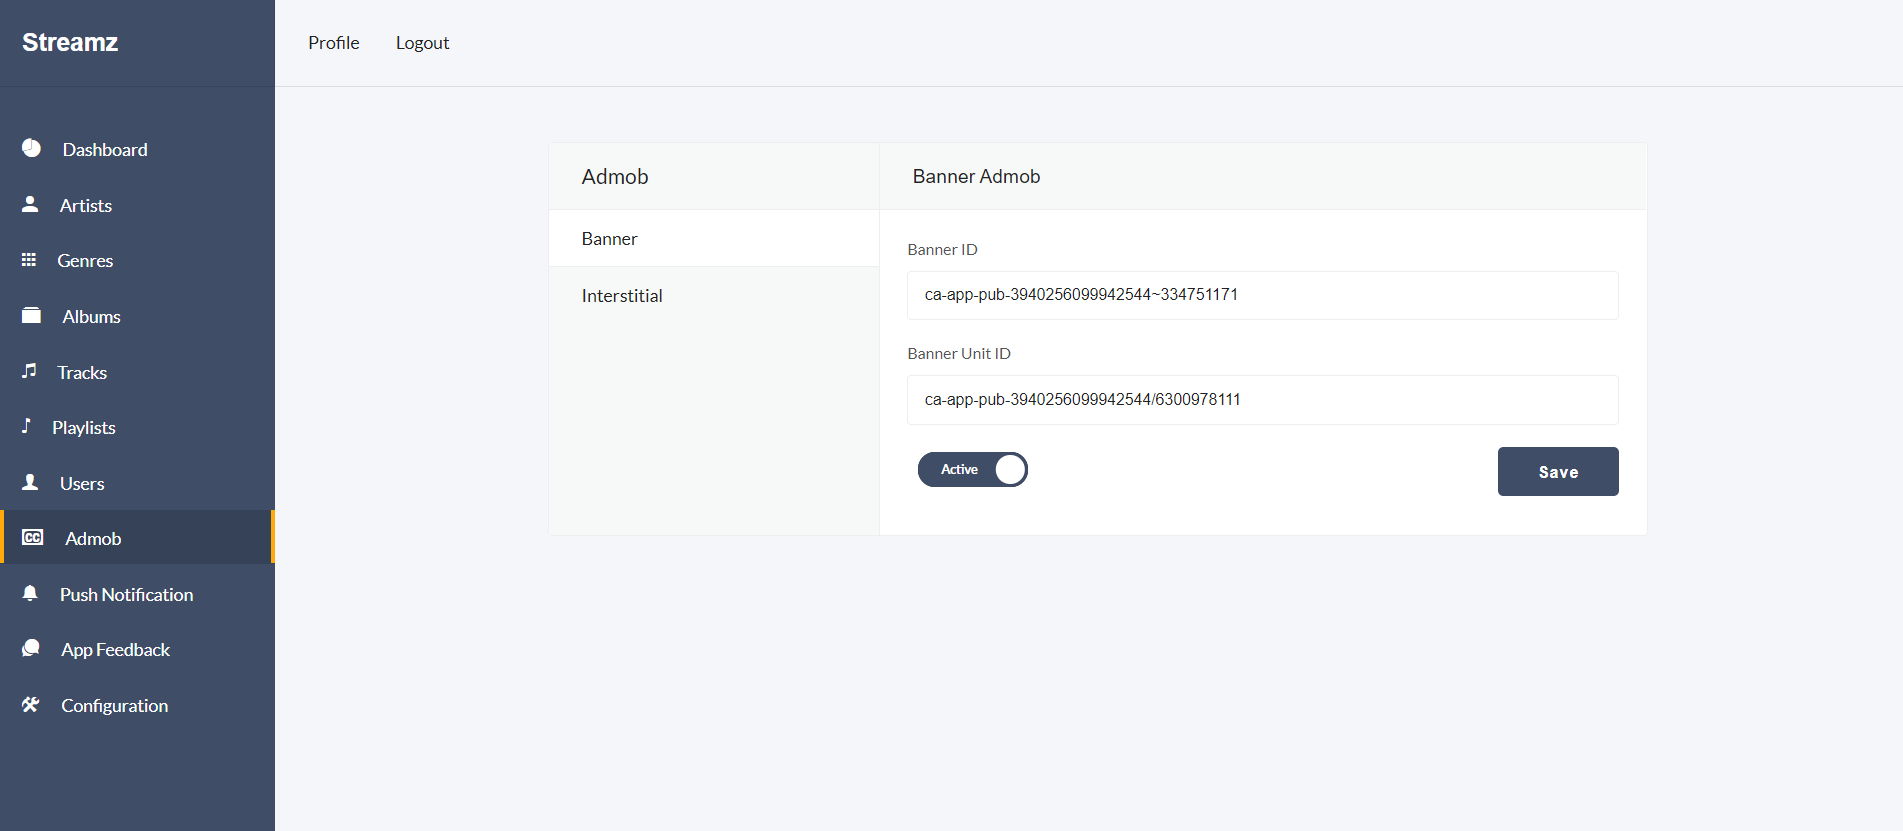
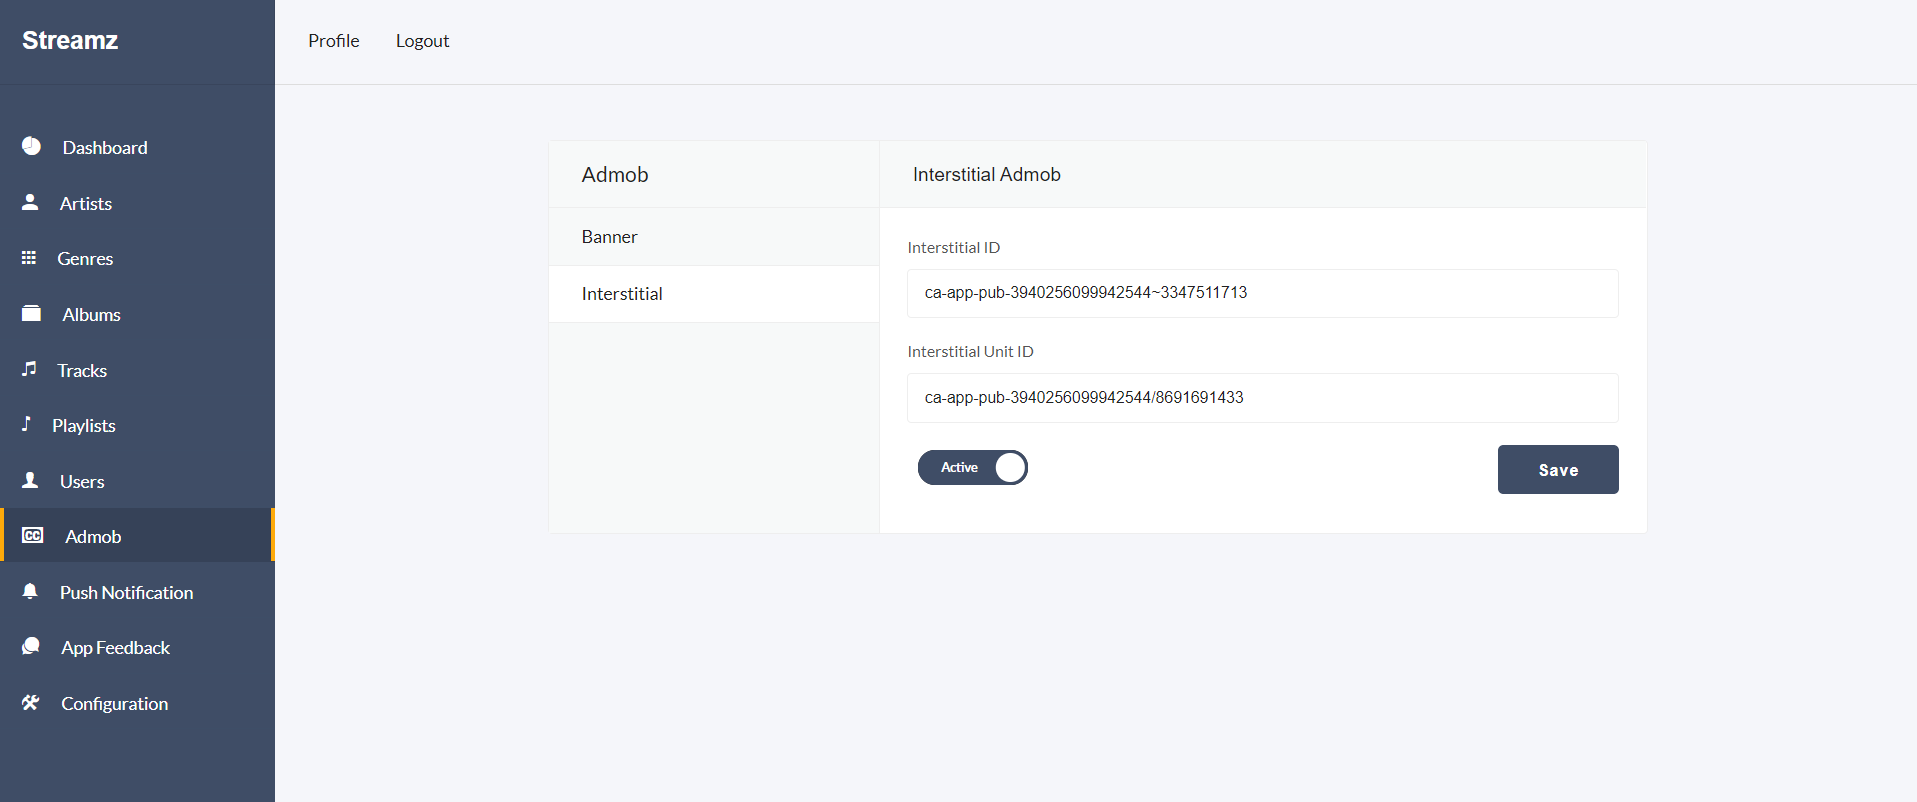
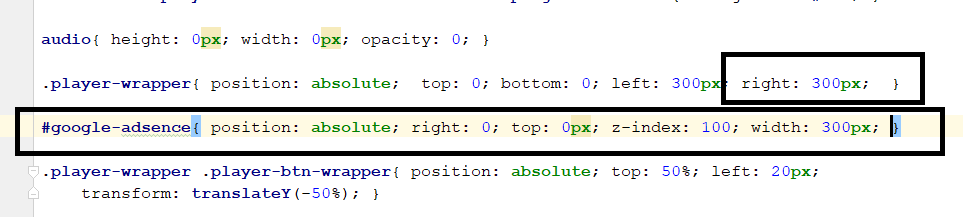
Google AdMob
Admin can configure AdMob credentials in the admin panel and enable or disable AdMob using the toggle button.
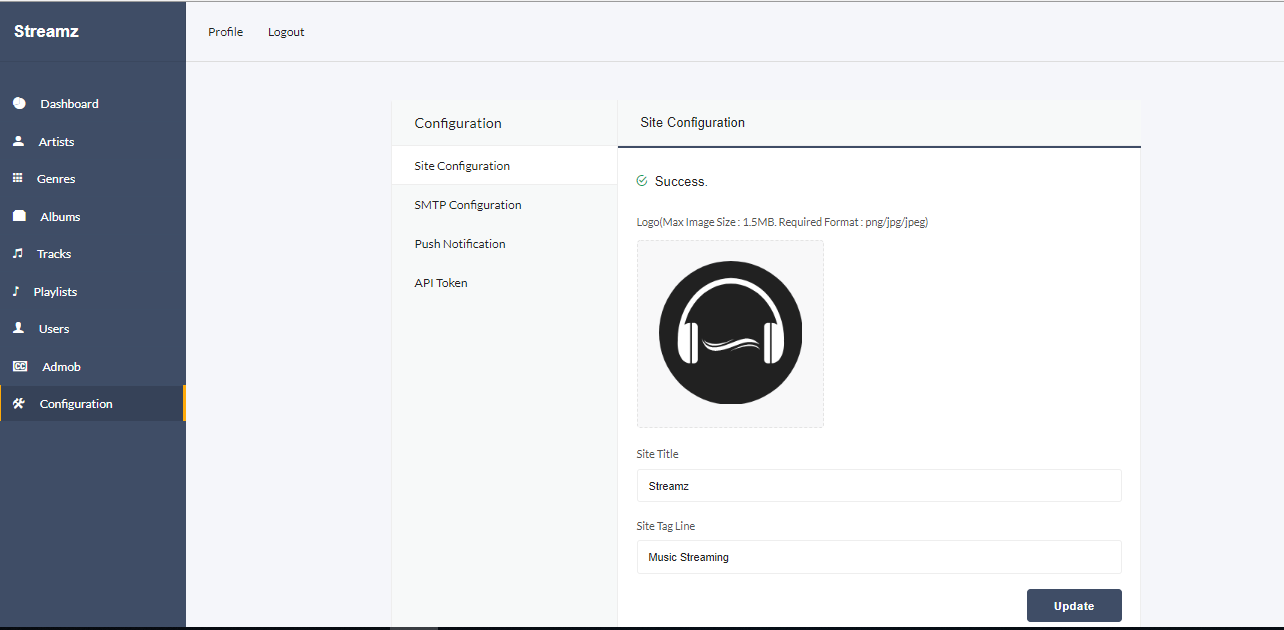
Configuration
In the configuration page, admin can change the site icon, title, and tagline via Configuration > Site Configuration.
Admin can also update SMTP configuration via Configuration > Site Configuration.
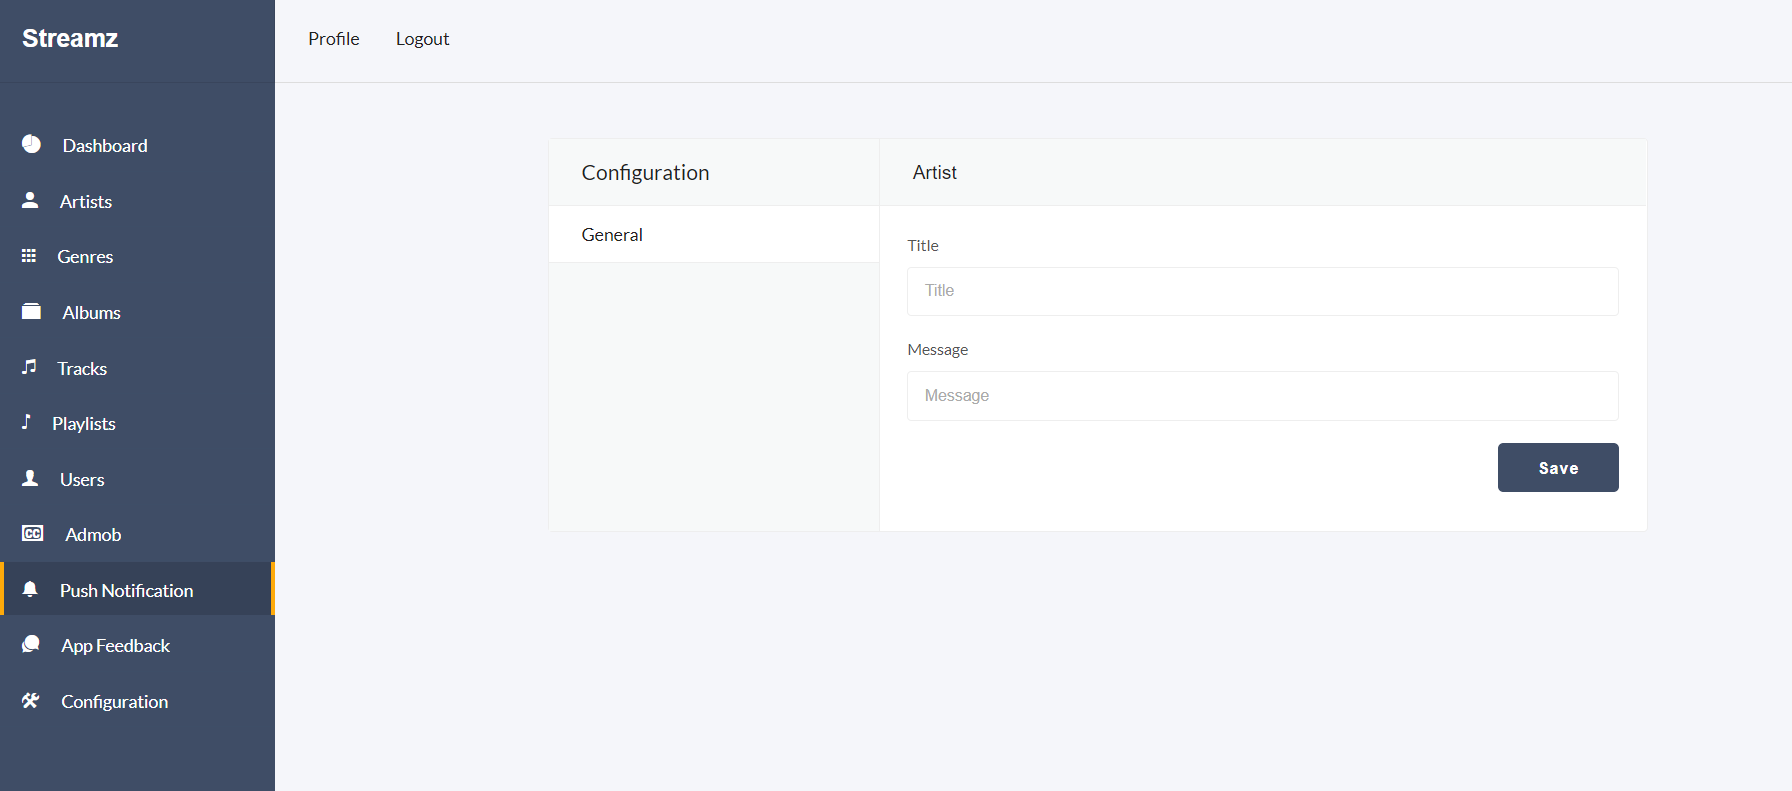
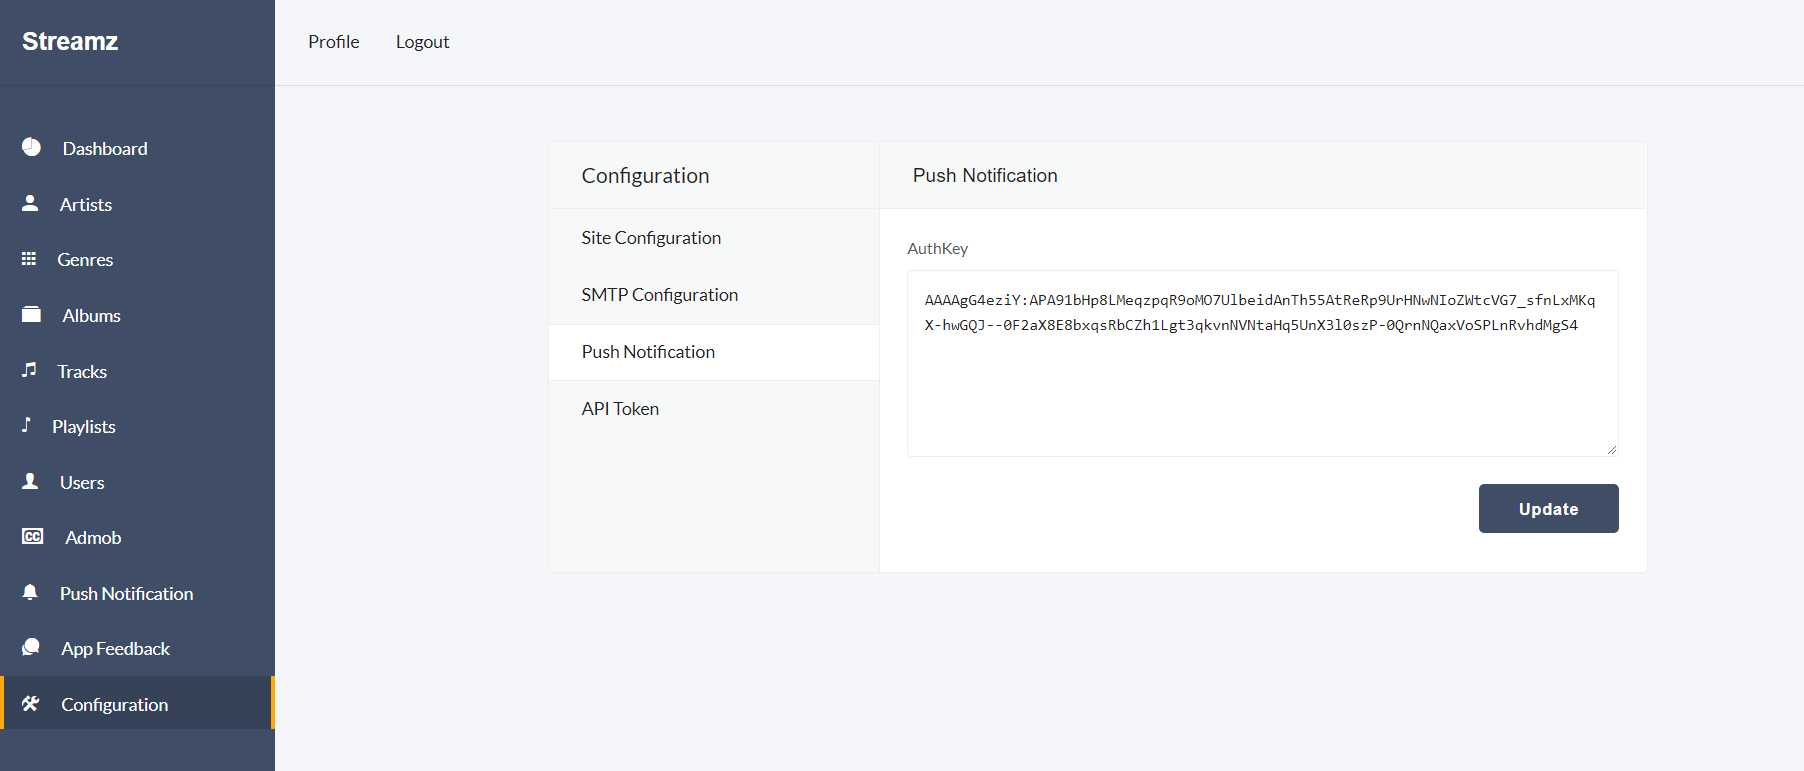
Firebase Auth settings for push notifications can be updated via Configuration > Push Notification.
The API is secured using an API token. Admin can update the API Token via Configuration > API Token. For more details, see Section 5.